


1
2
3
4
5
6
7
8
9
10
11
12
13
14
15
16
17
Pottery by Melissa Beckwith
Melissa Beckwith centers a ball of clay on the potter's wheel.
Pottery by Melissa Beckwith
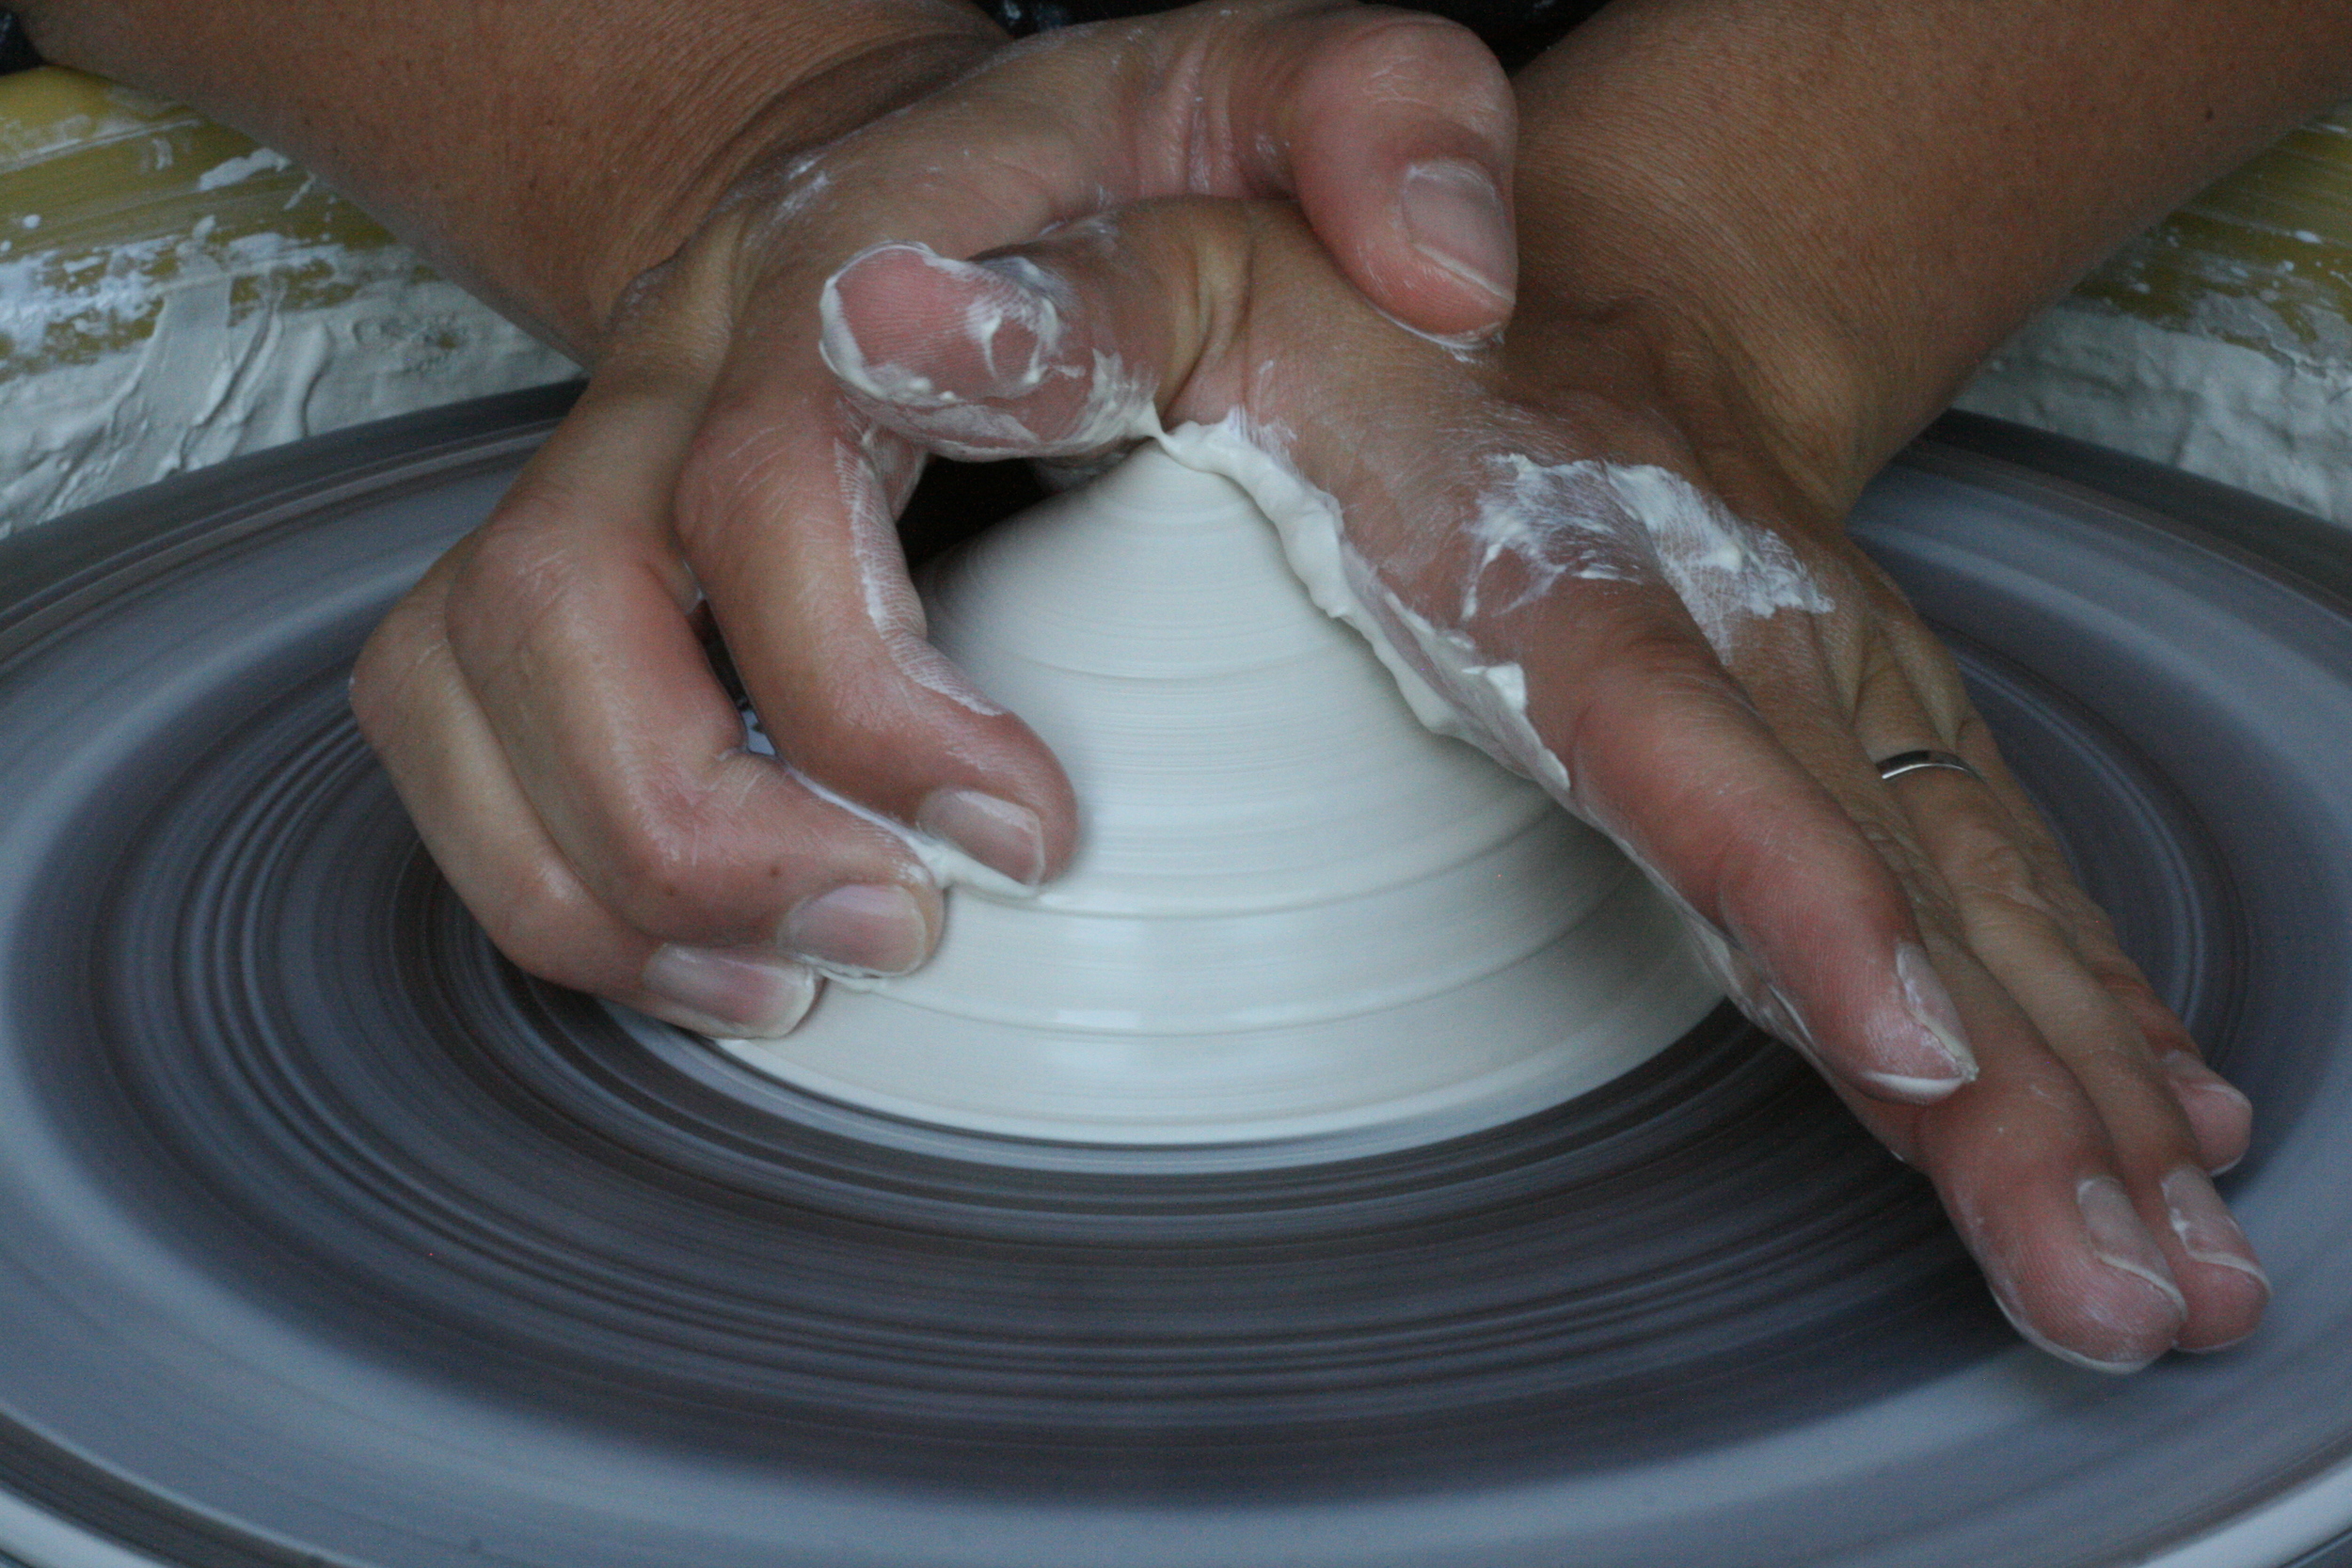
Centering is the MOST important step in throwing clay on the potter's wheel. It takes a lot of practice.
Pottery by Melissa Beckwith
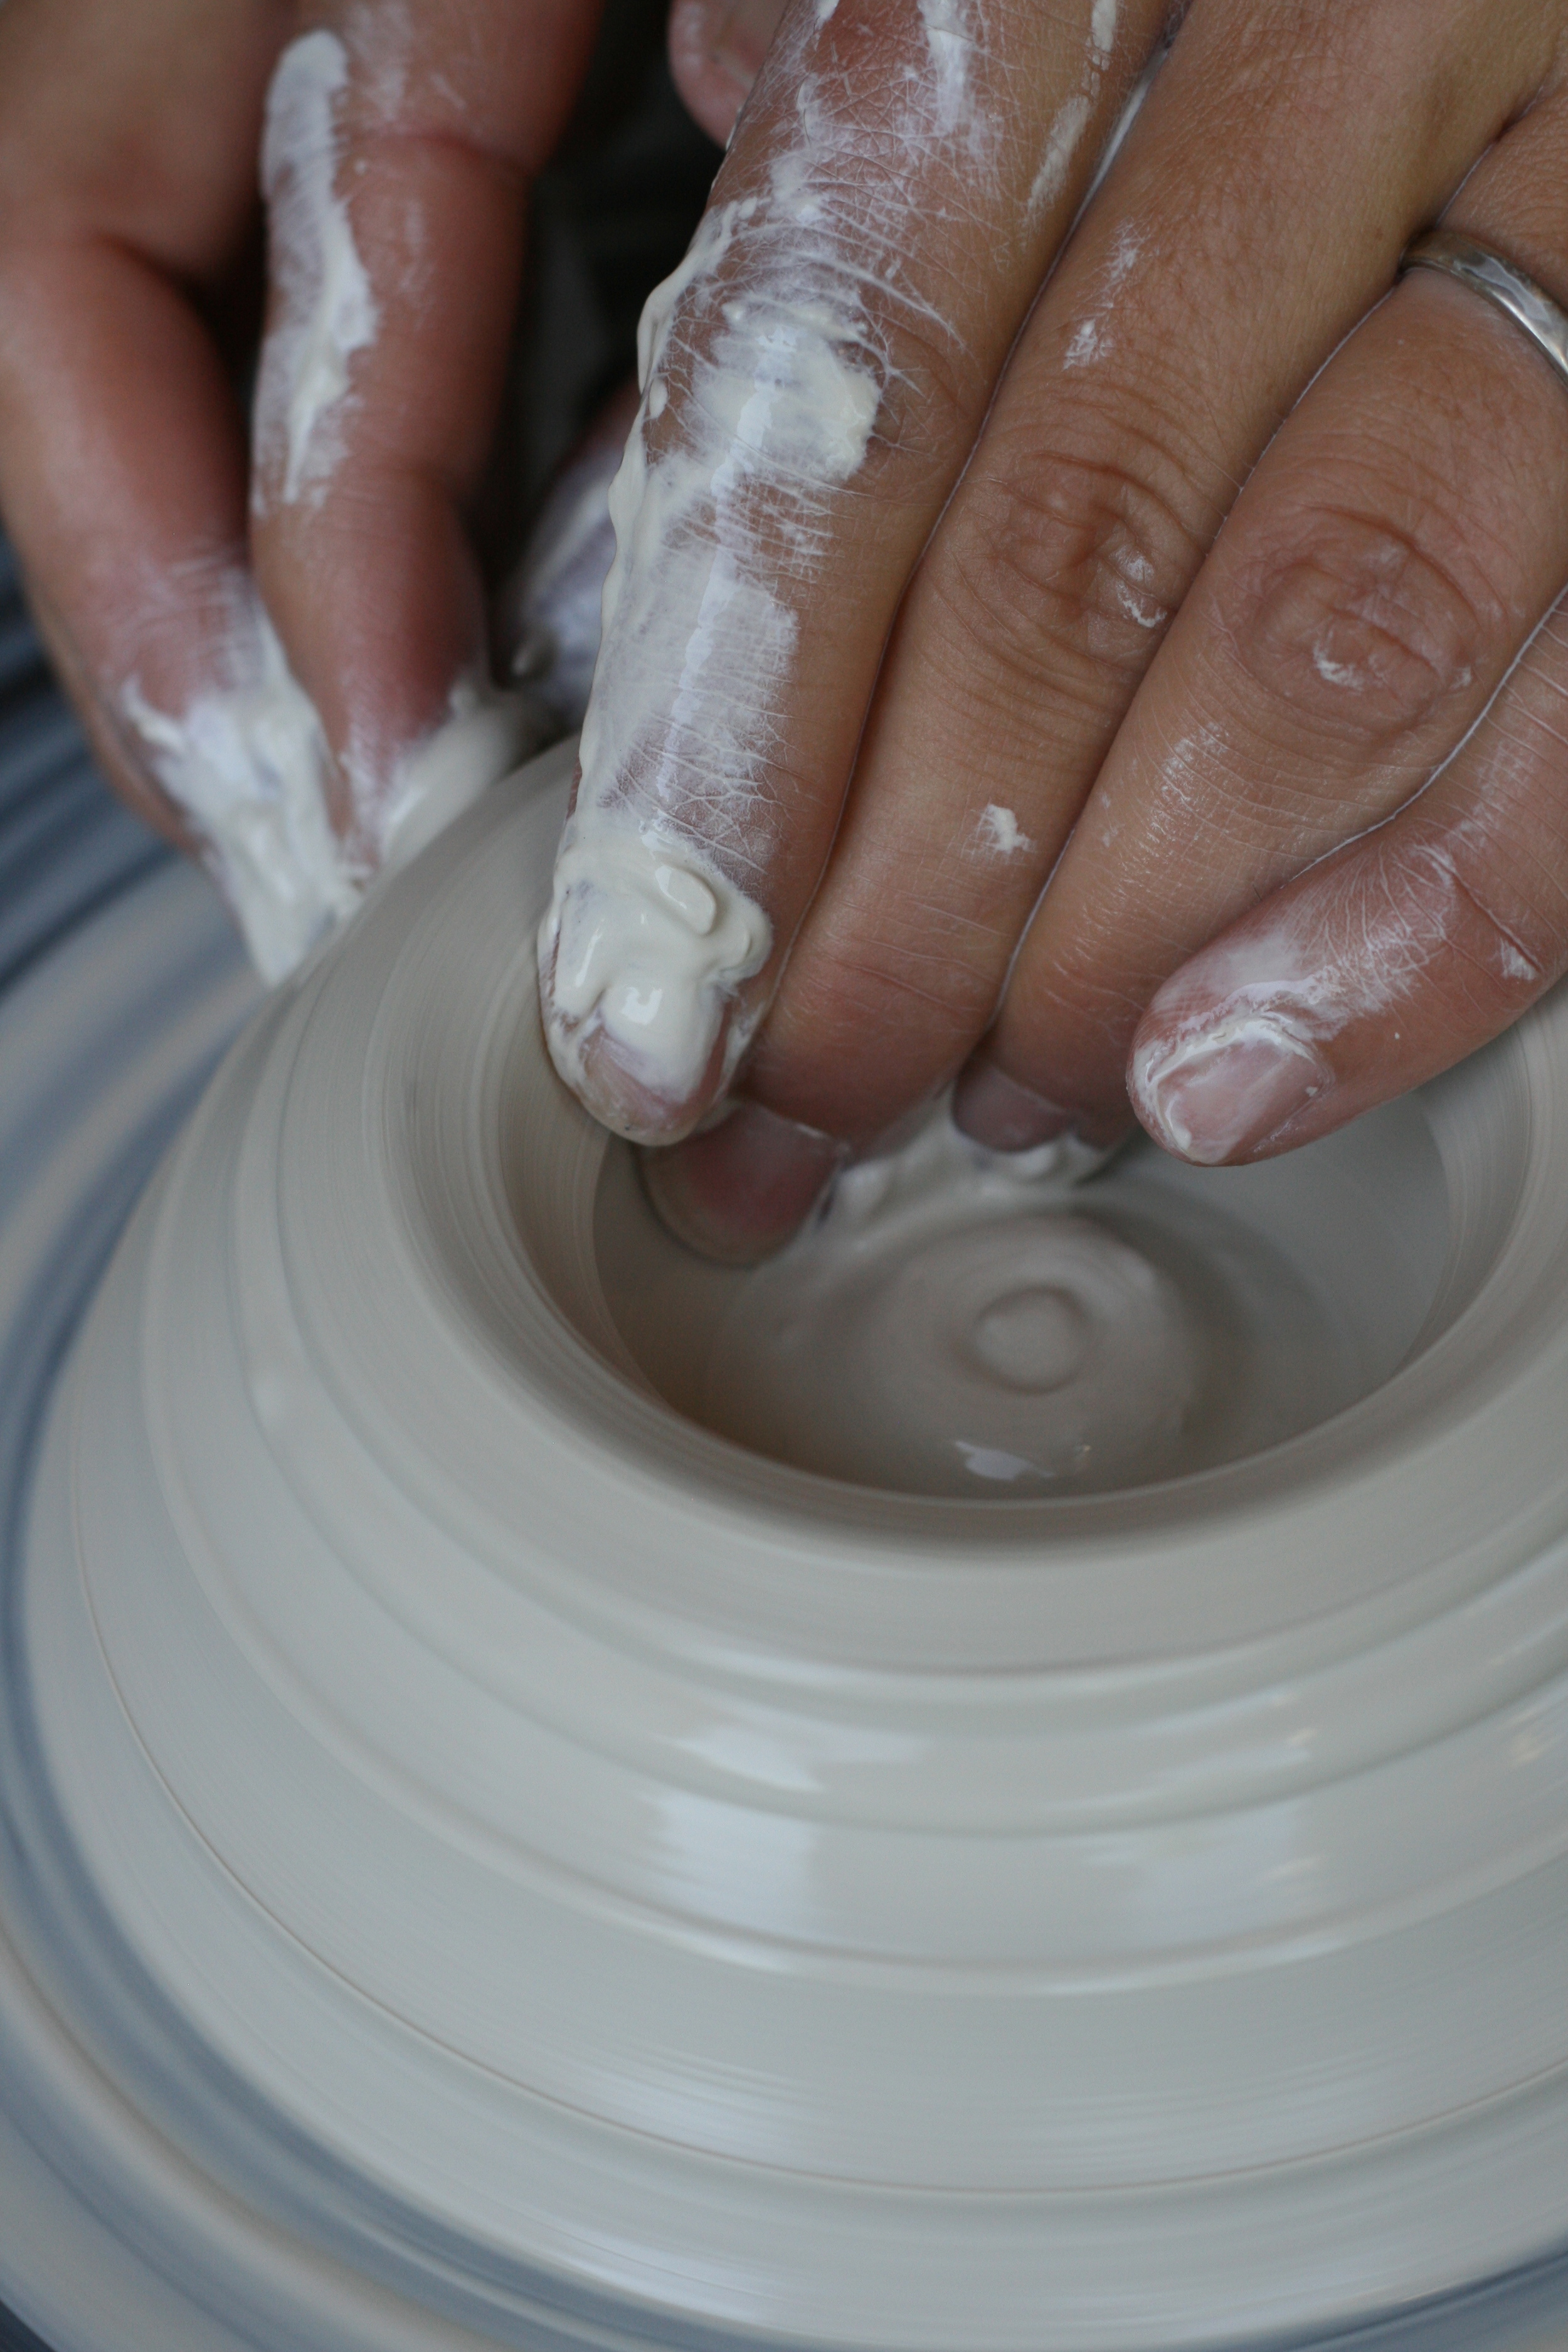
Once I am sure the clay is centered, I create a small divot in the top.
Pottery by Melissa Beckwith
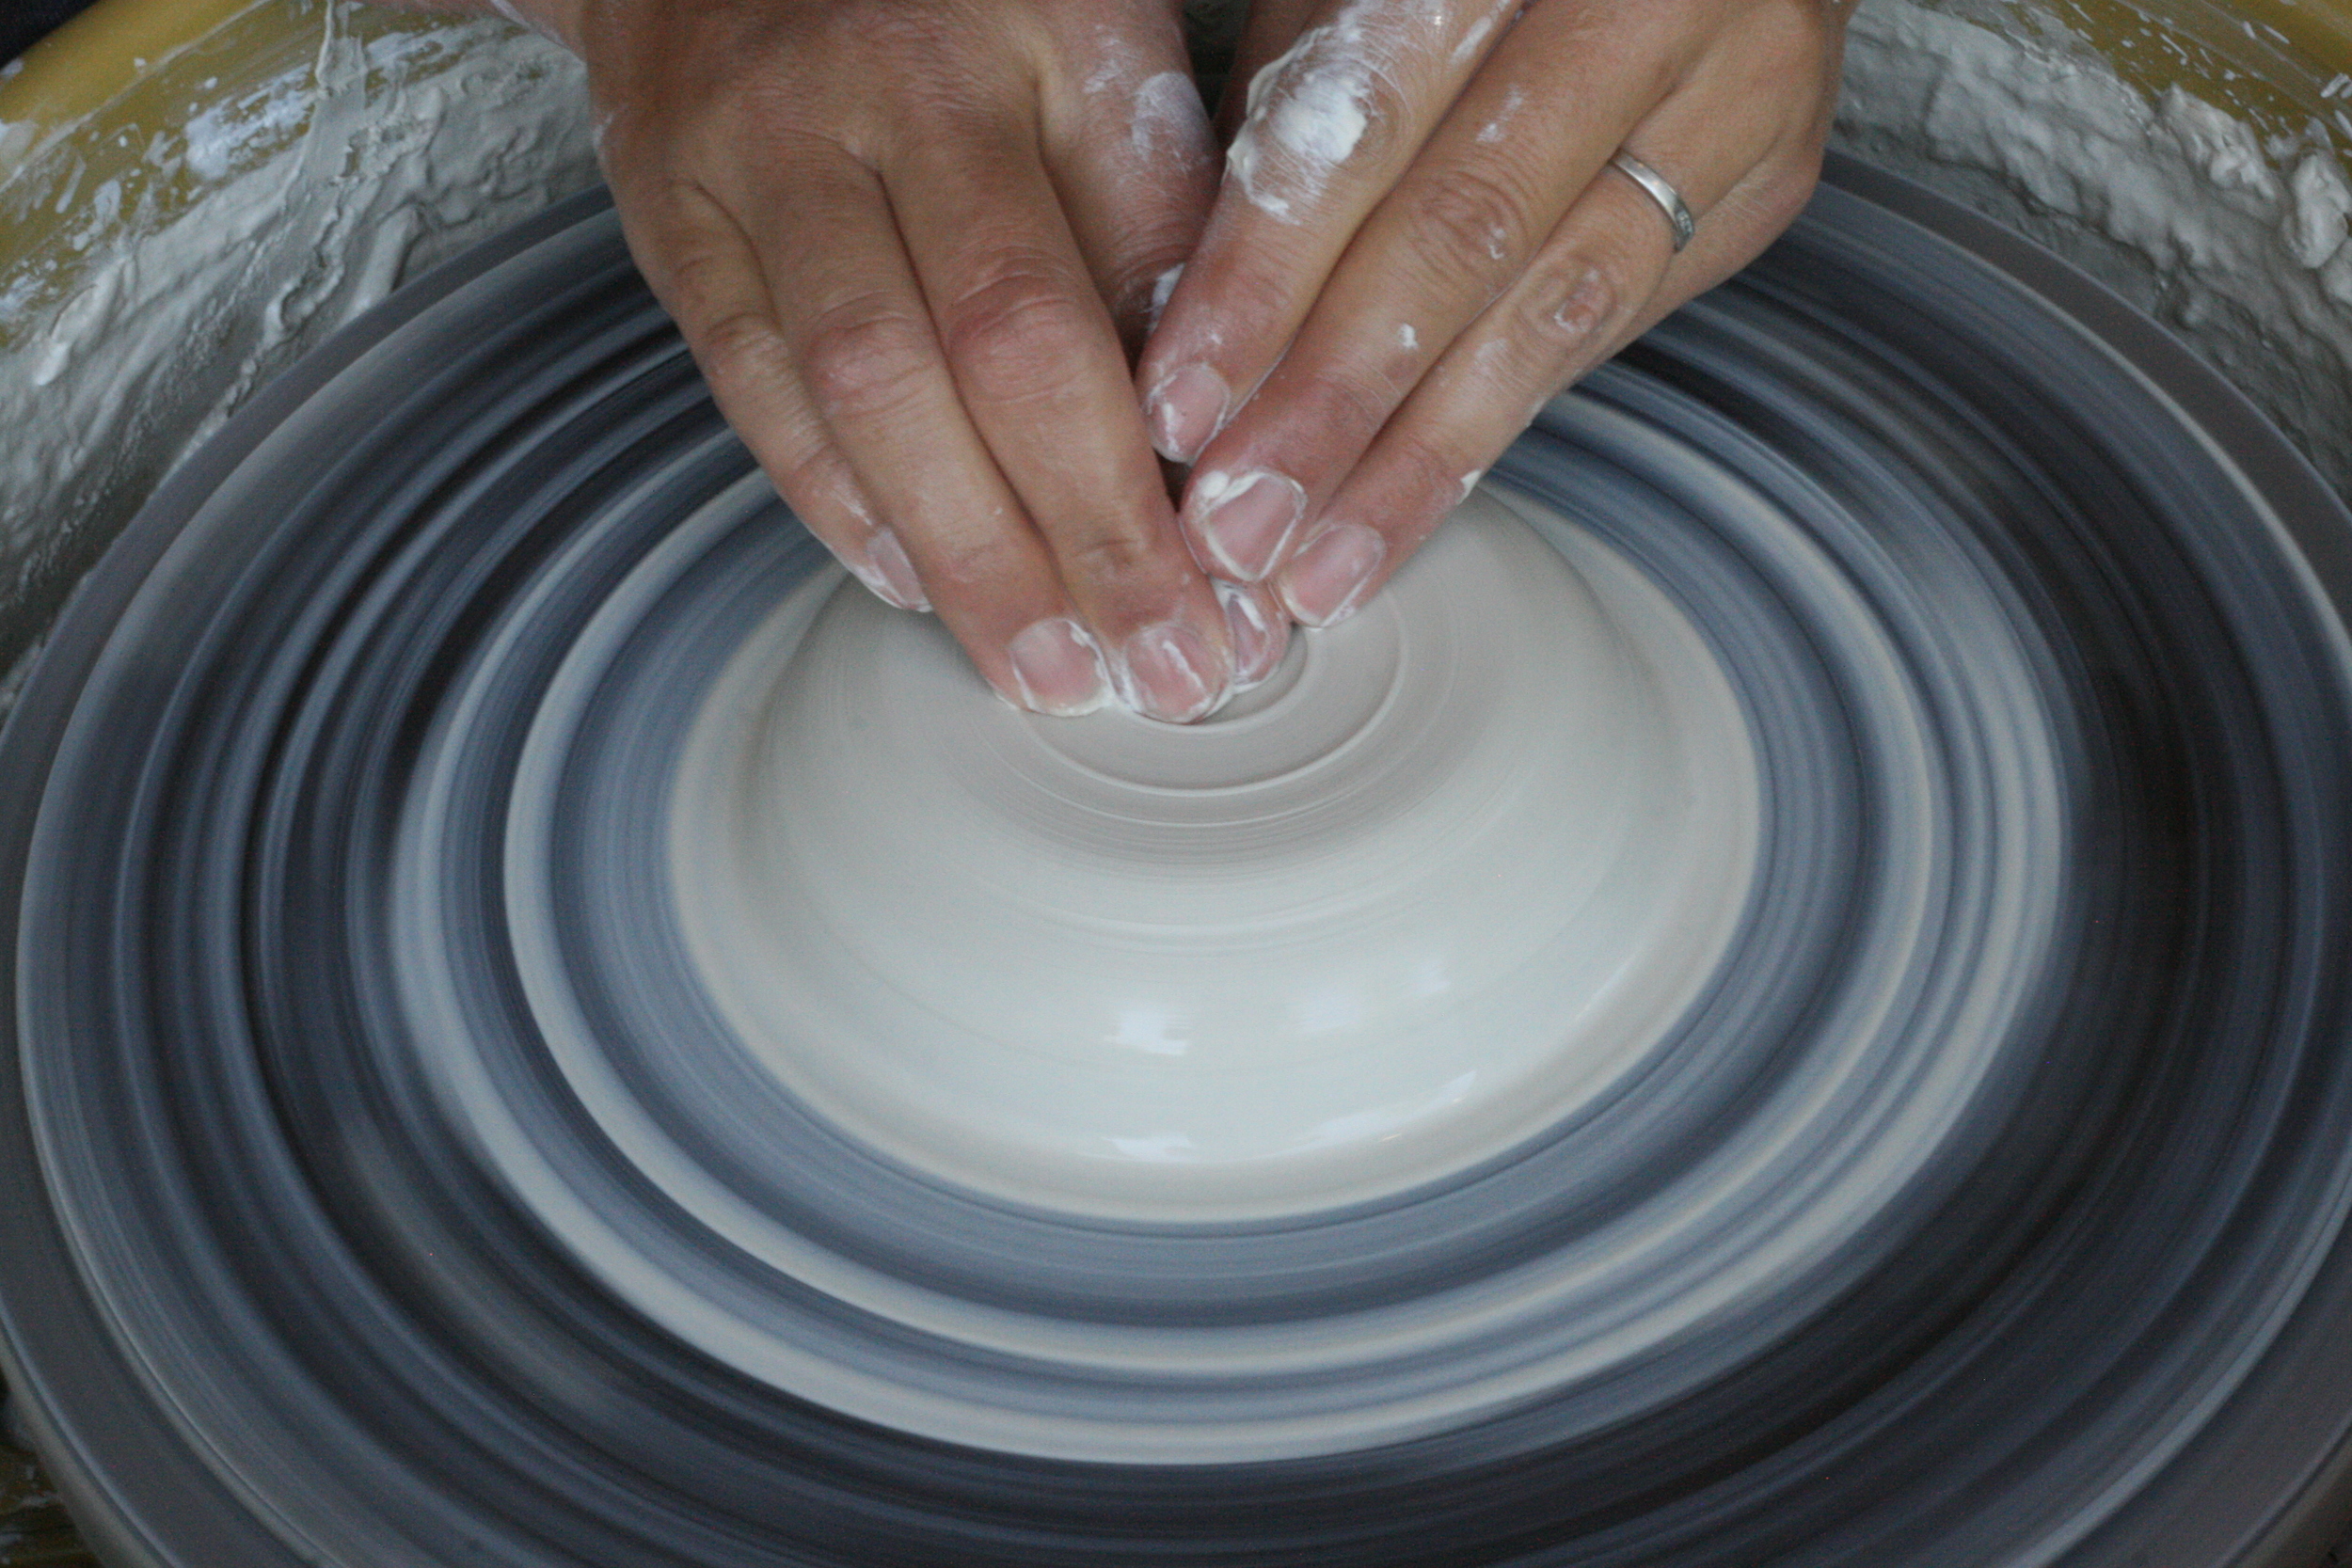
Now I start to "open" up the ball of clay.
Pottery by Melissa Beckwith
I love watching the clay morph through my fingers.
Pottery by Melissa Beckwith
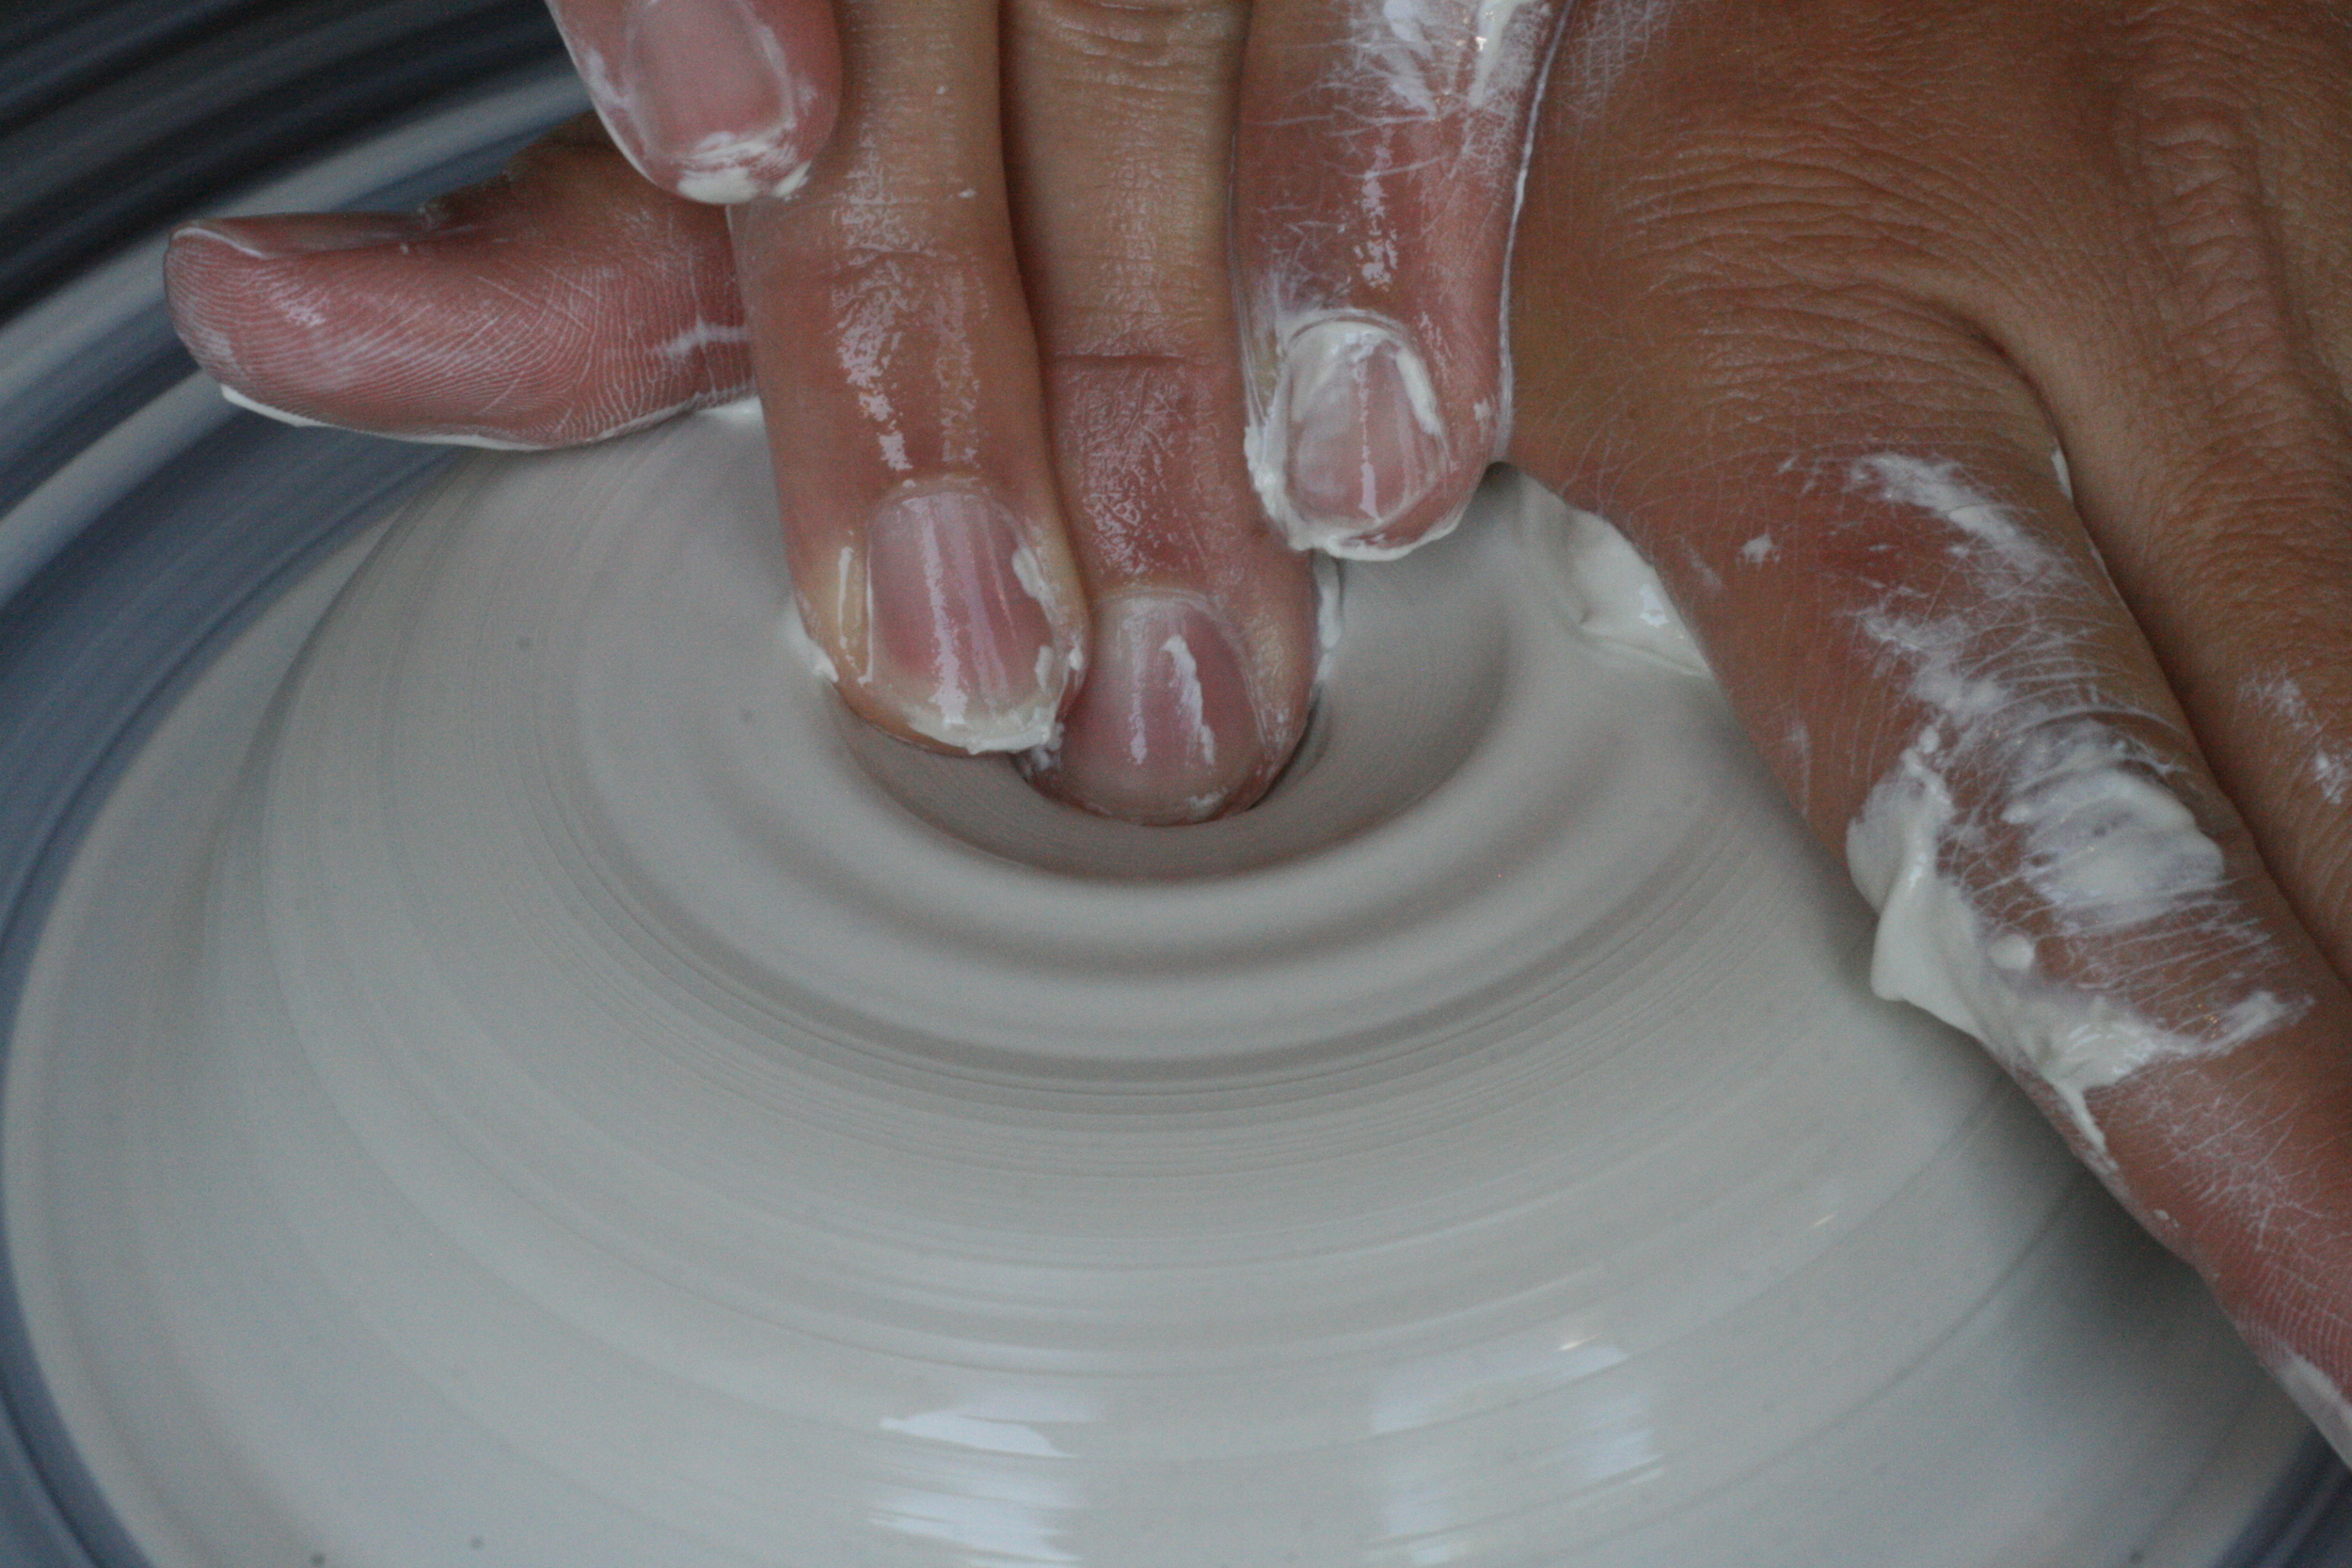
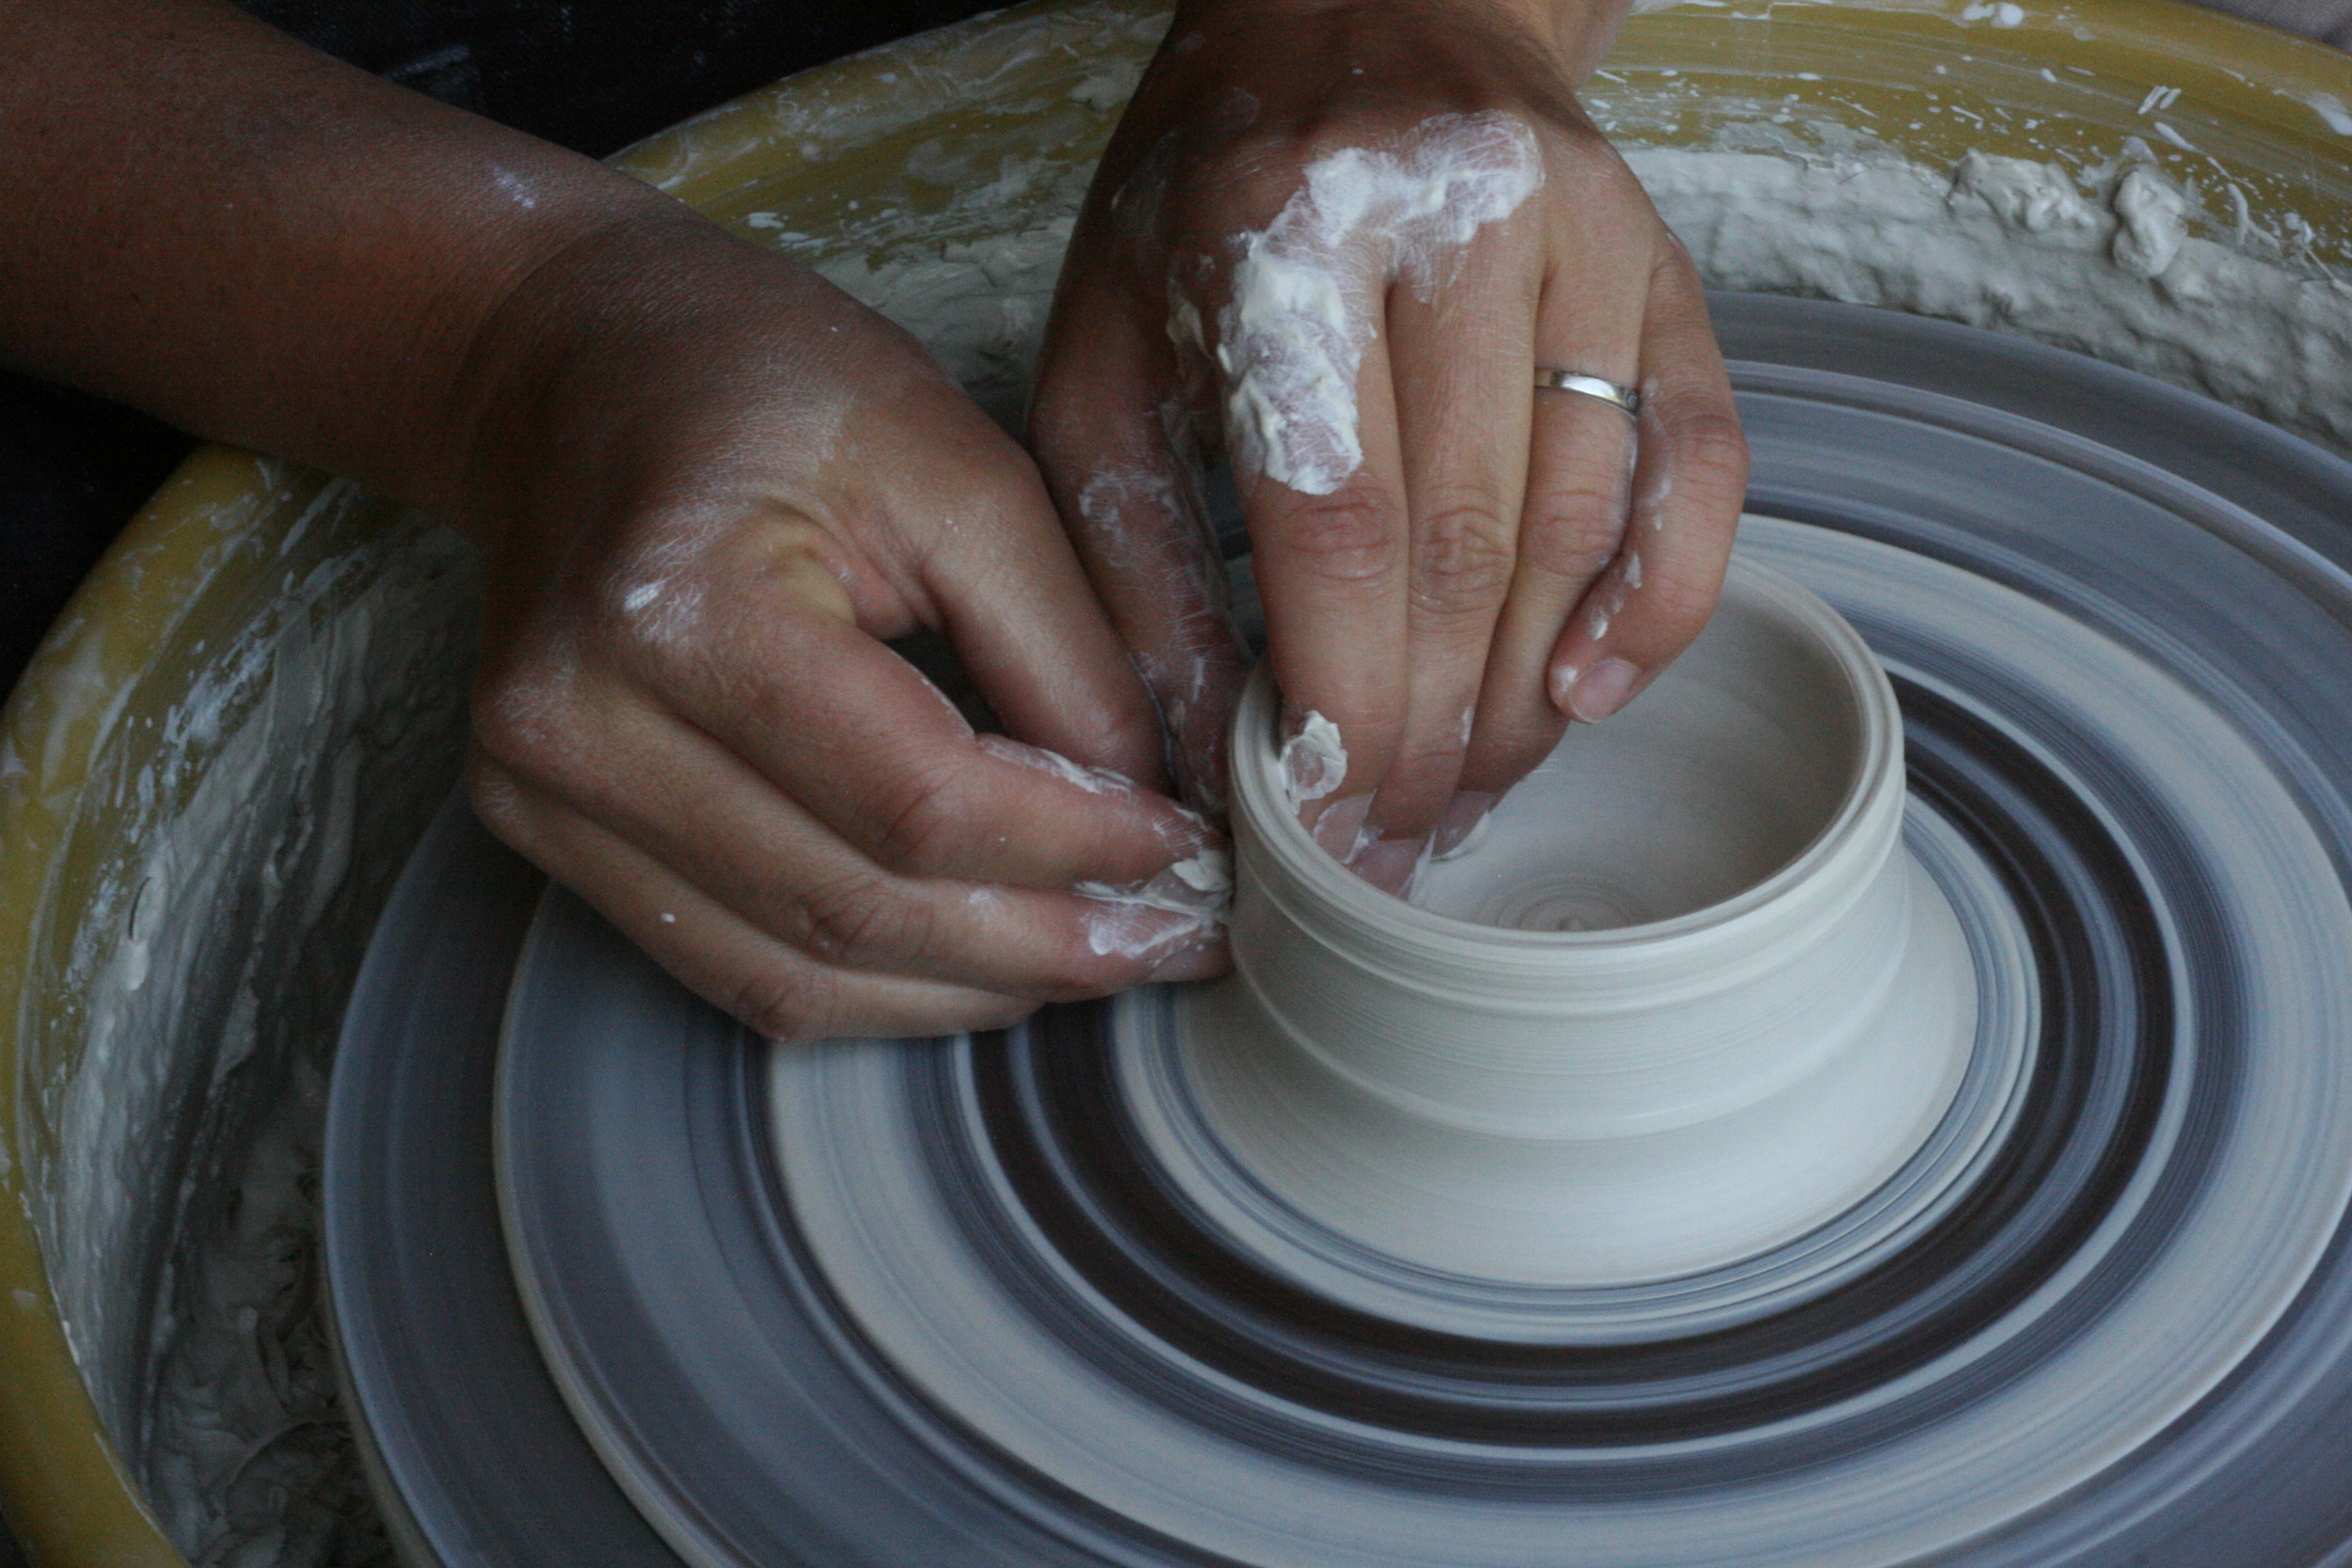
Now I work on the bottom cavity of the pot and in preparation of forming the top of the pot.
Pottery by Melissa Beckwith
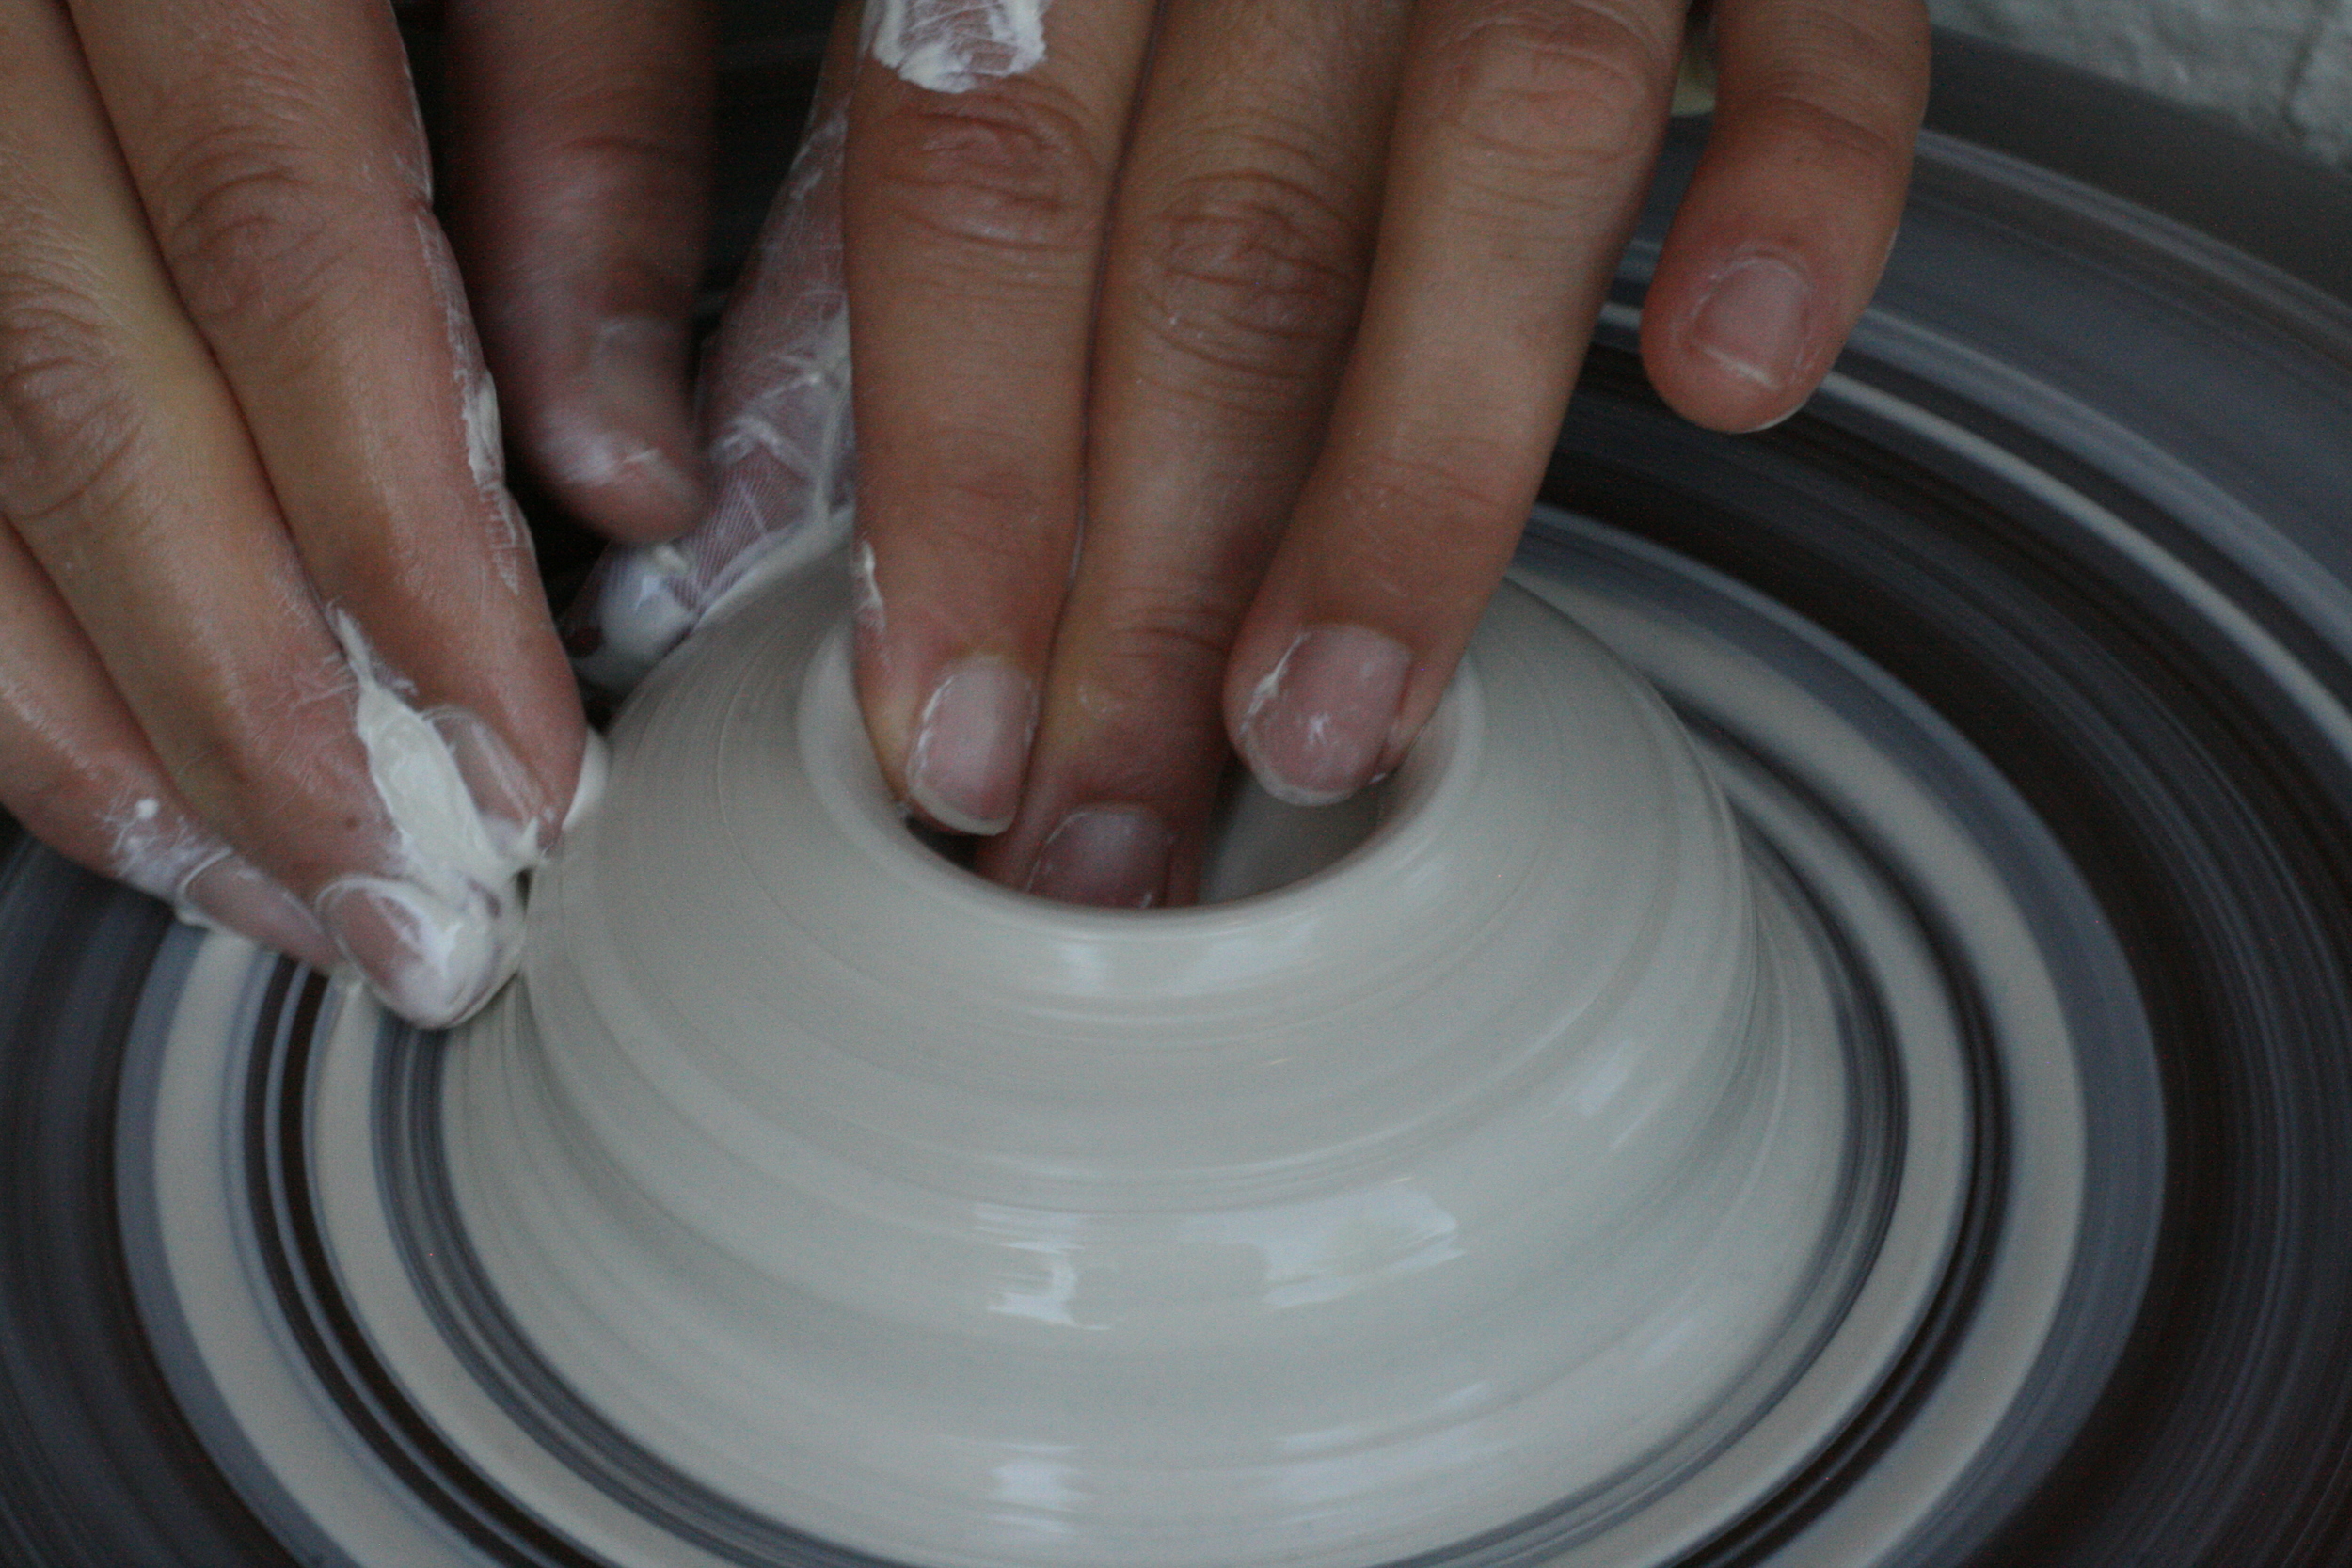
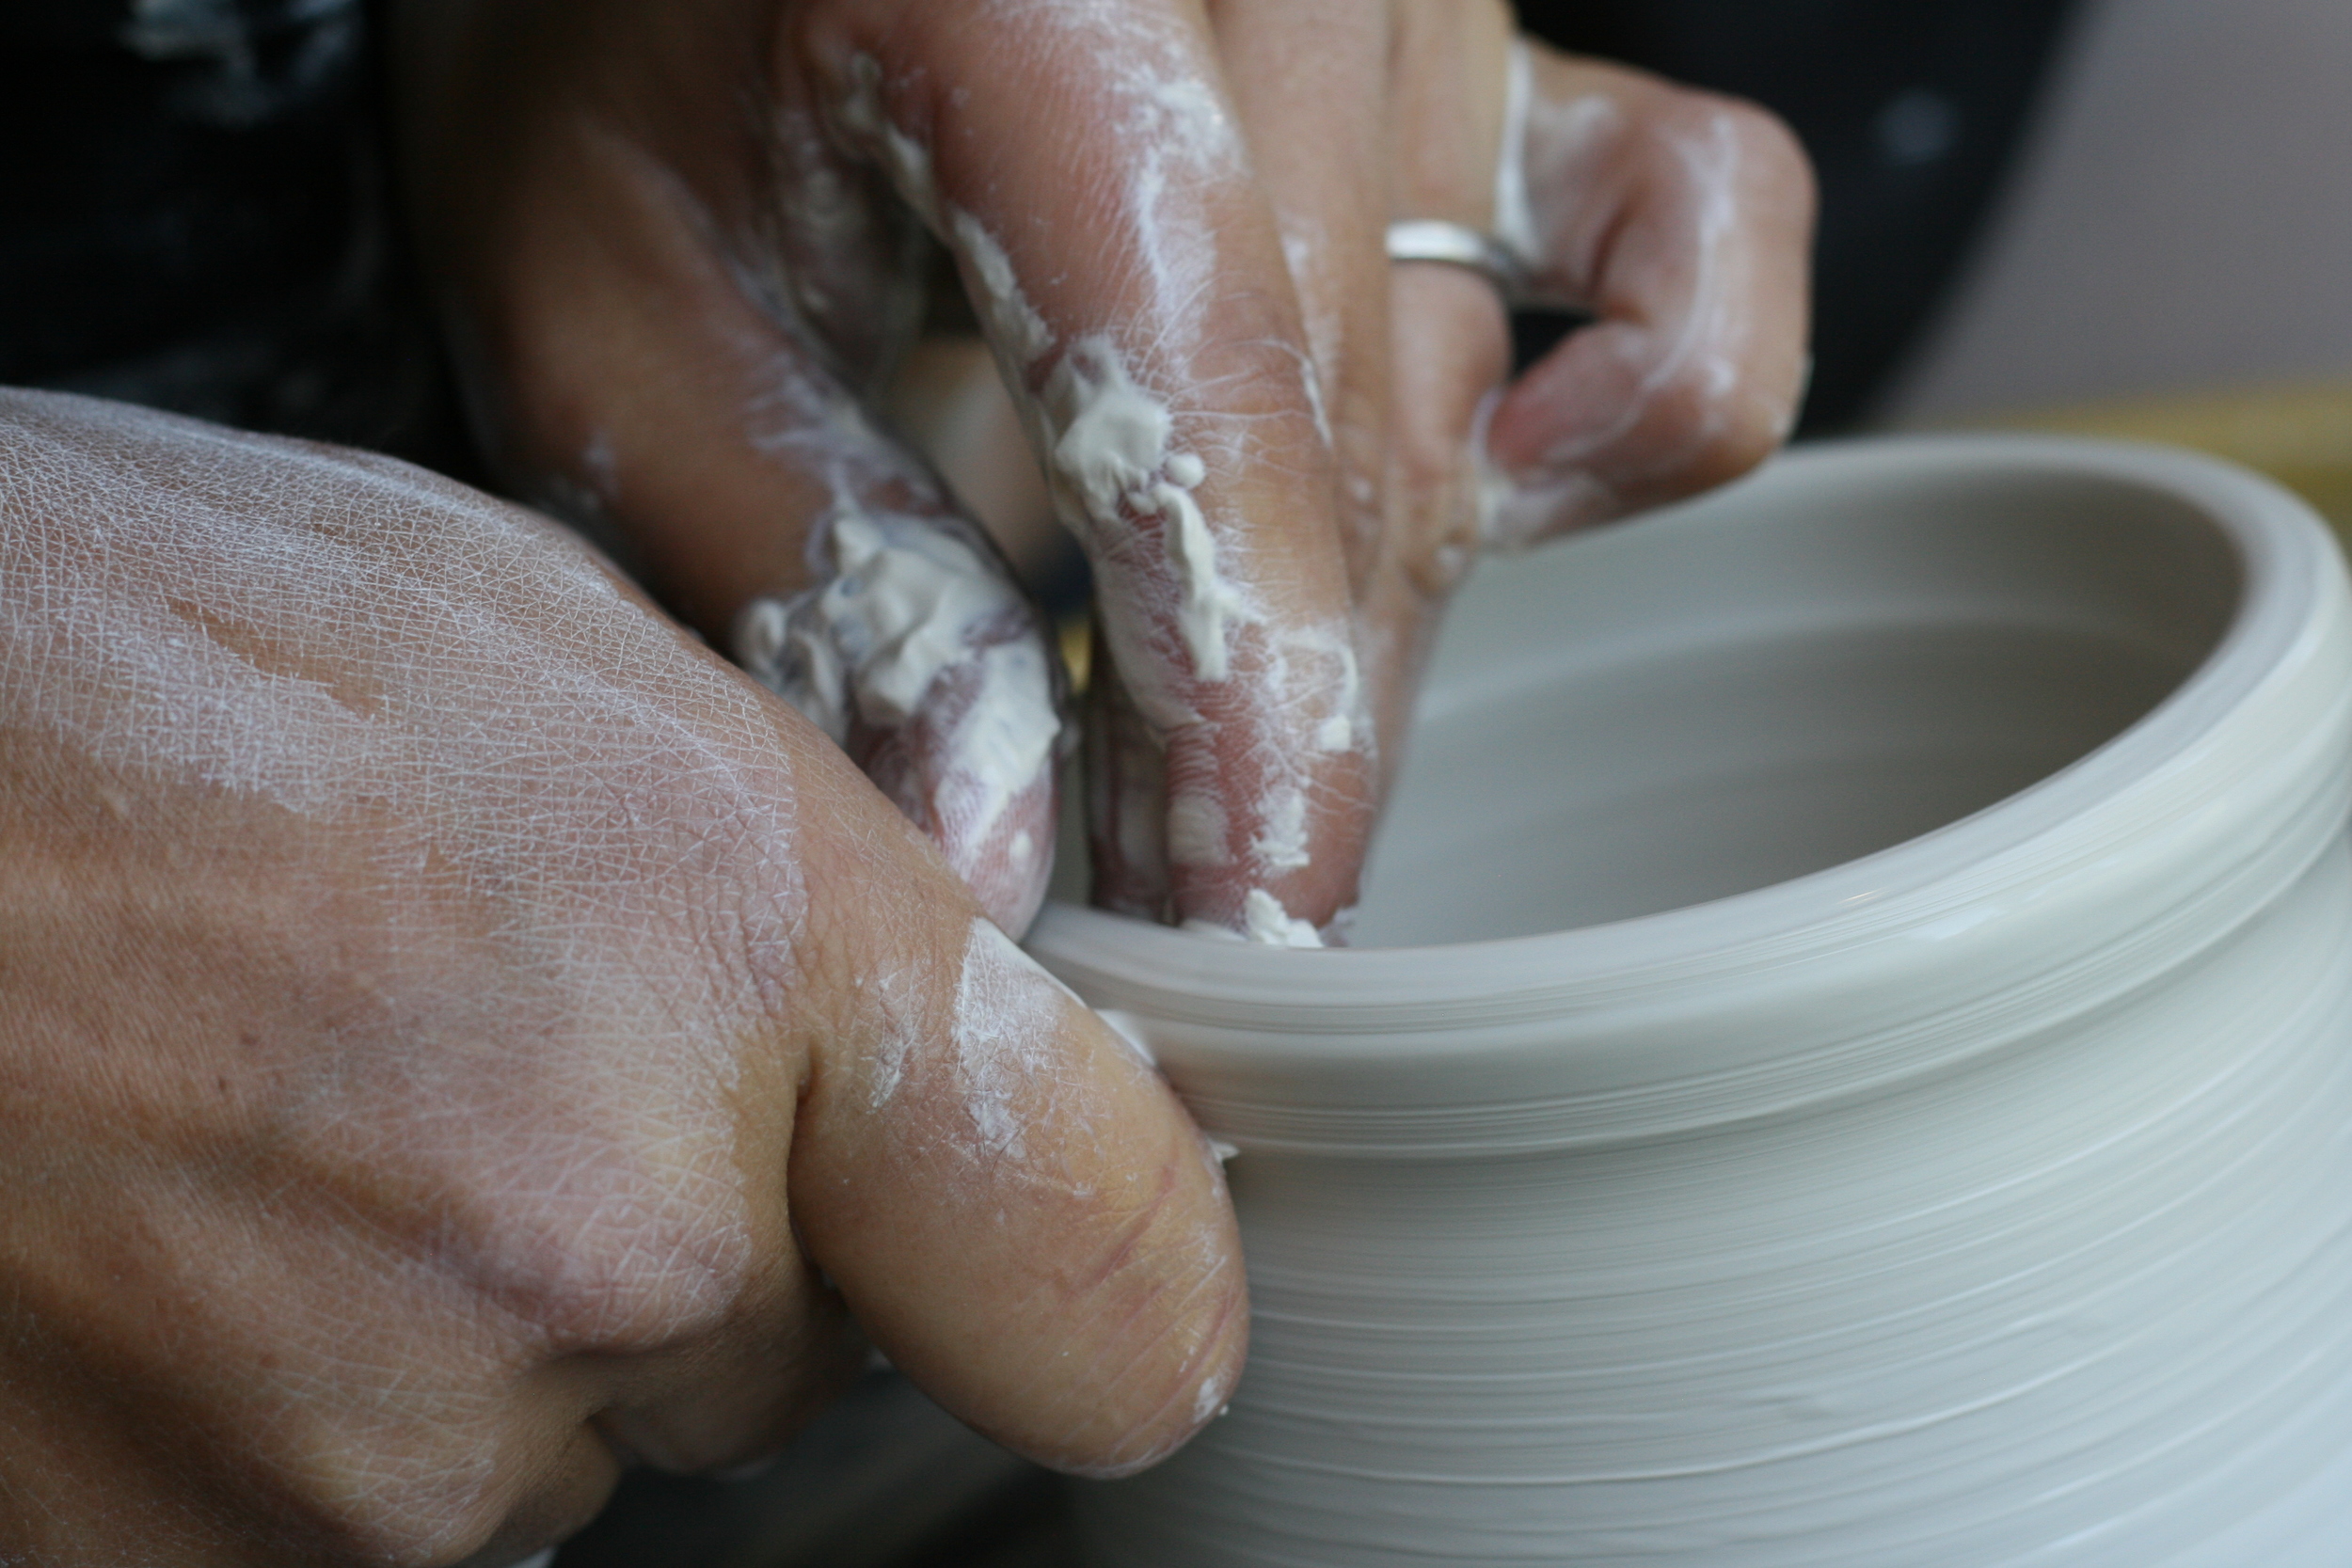
Here I begin to "pull" the wall clay up to carefully form the walls of the pot.
Pottery by Melissa Beckwith
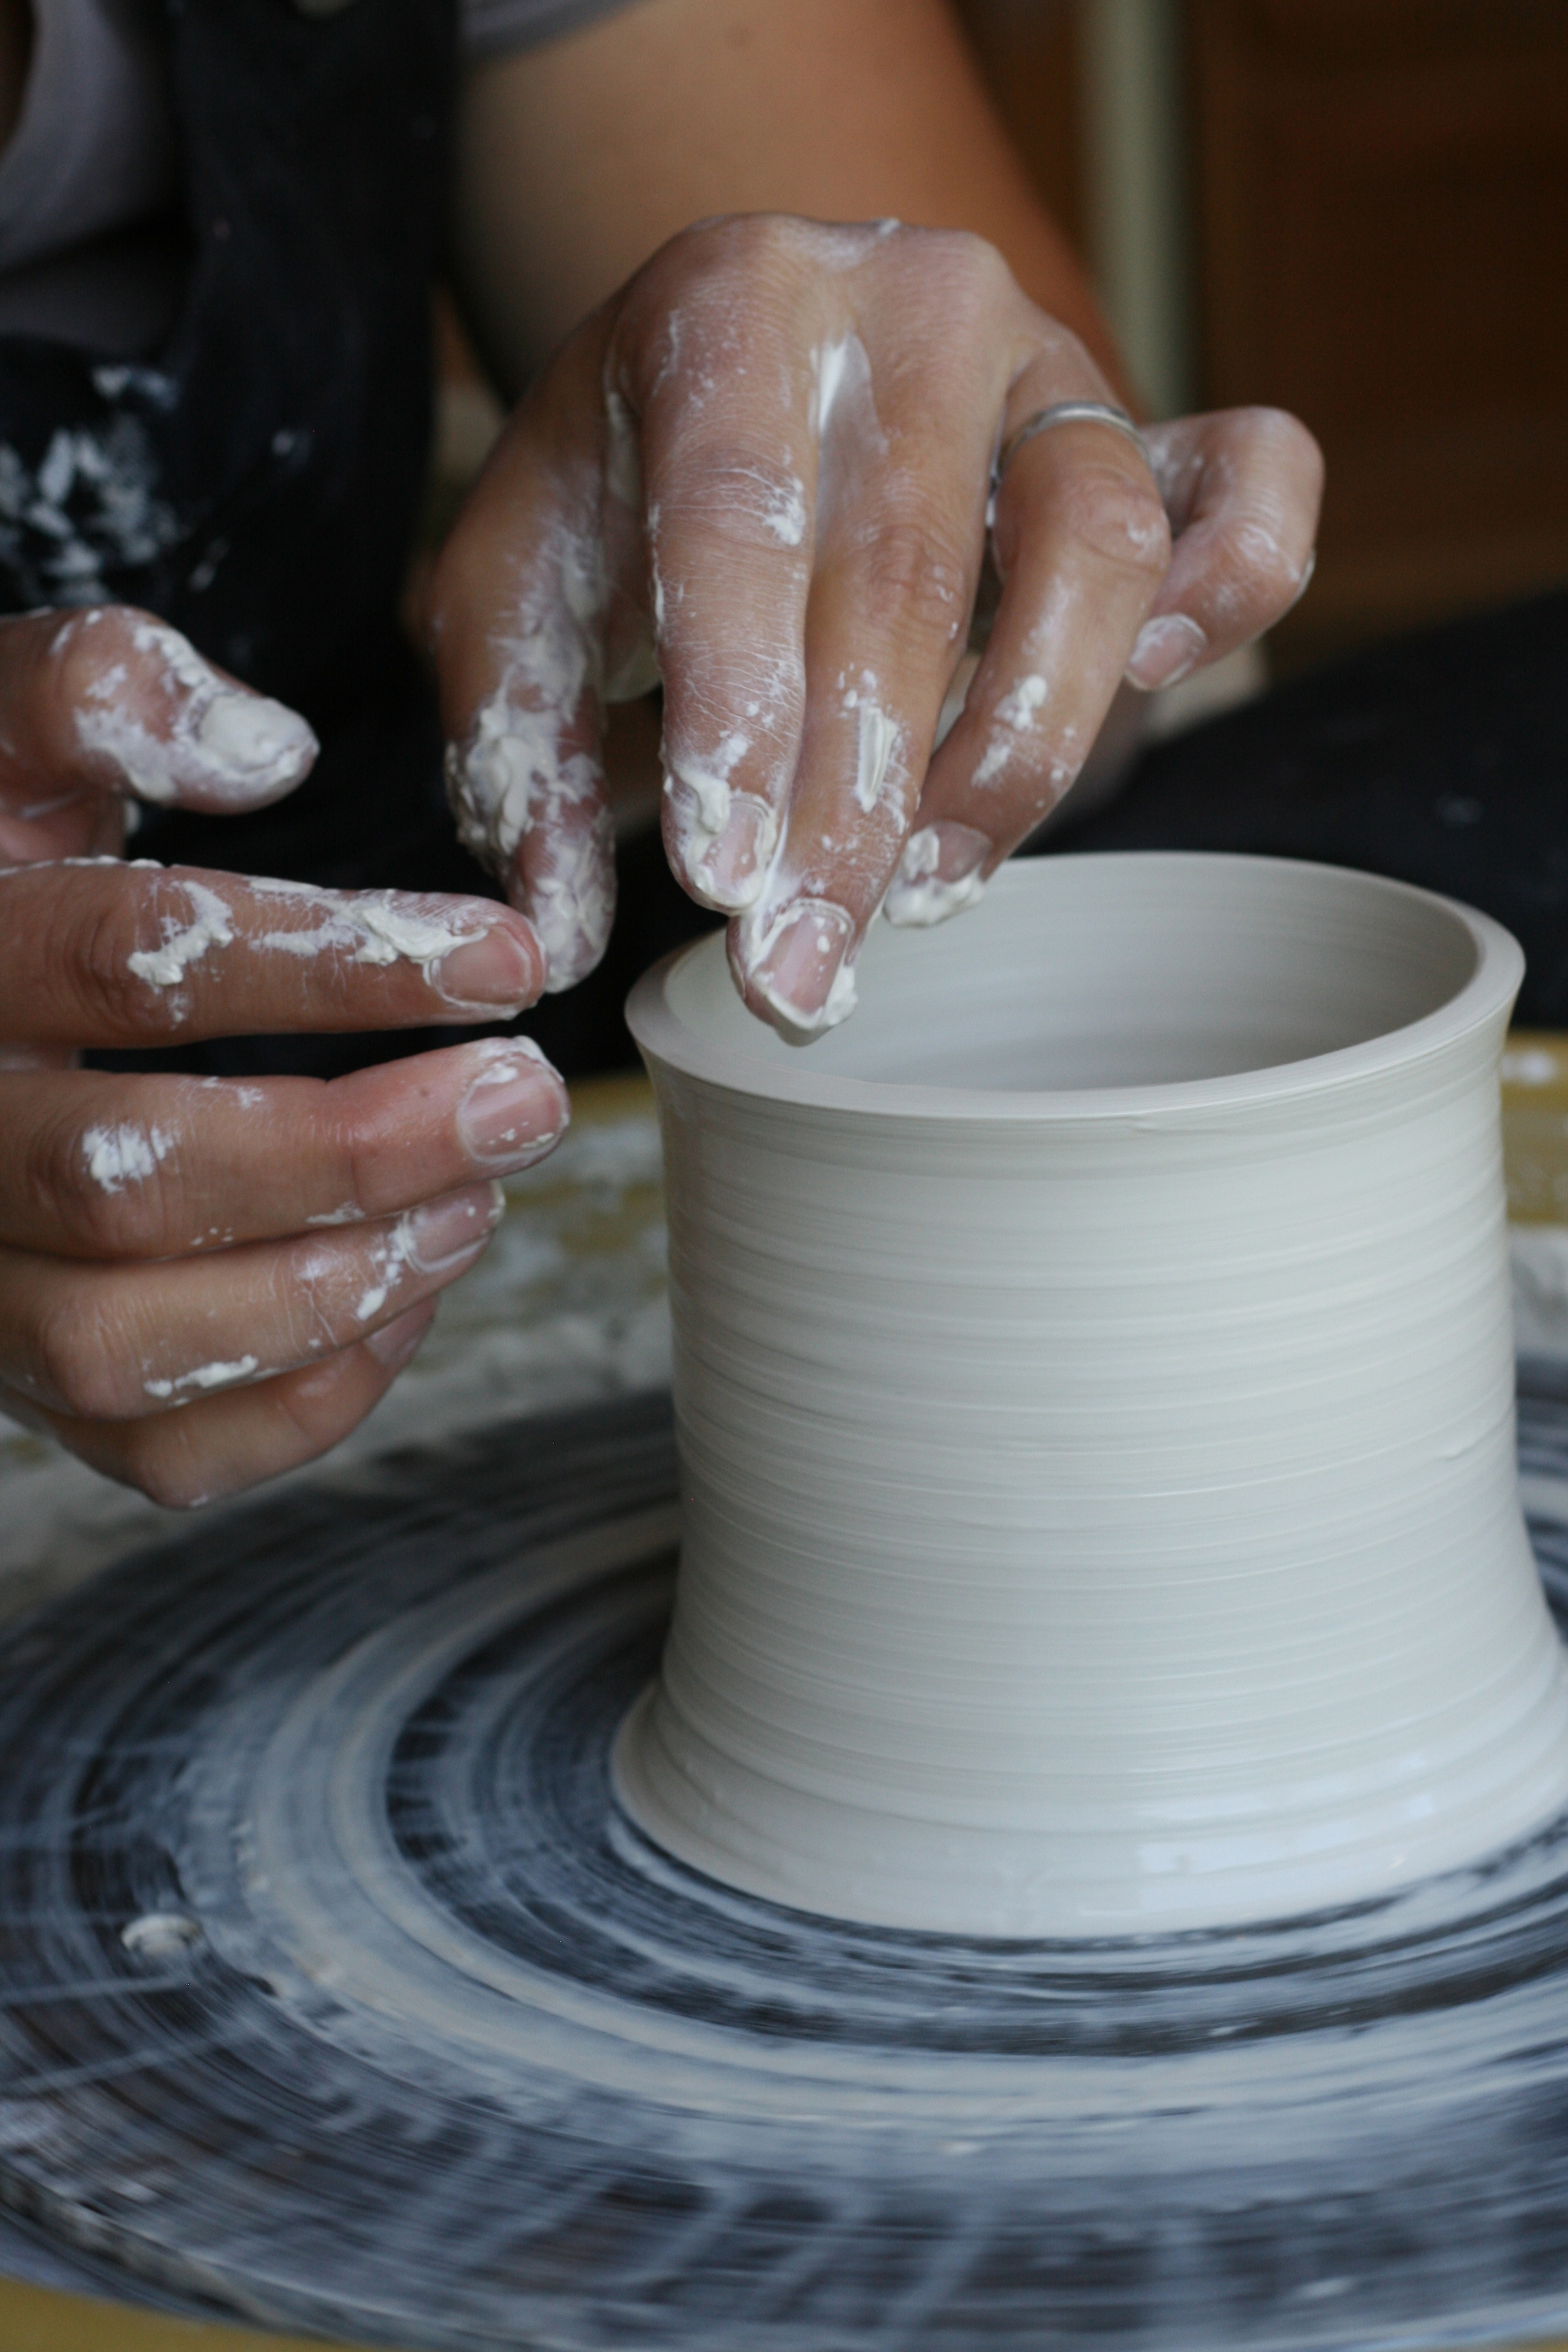
Once I get the achieved height of the pot, I make a few more passes up the walls of the pot to be sure there is even thickness from bottom to top.
Pottery by Melissa Beckwith
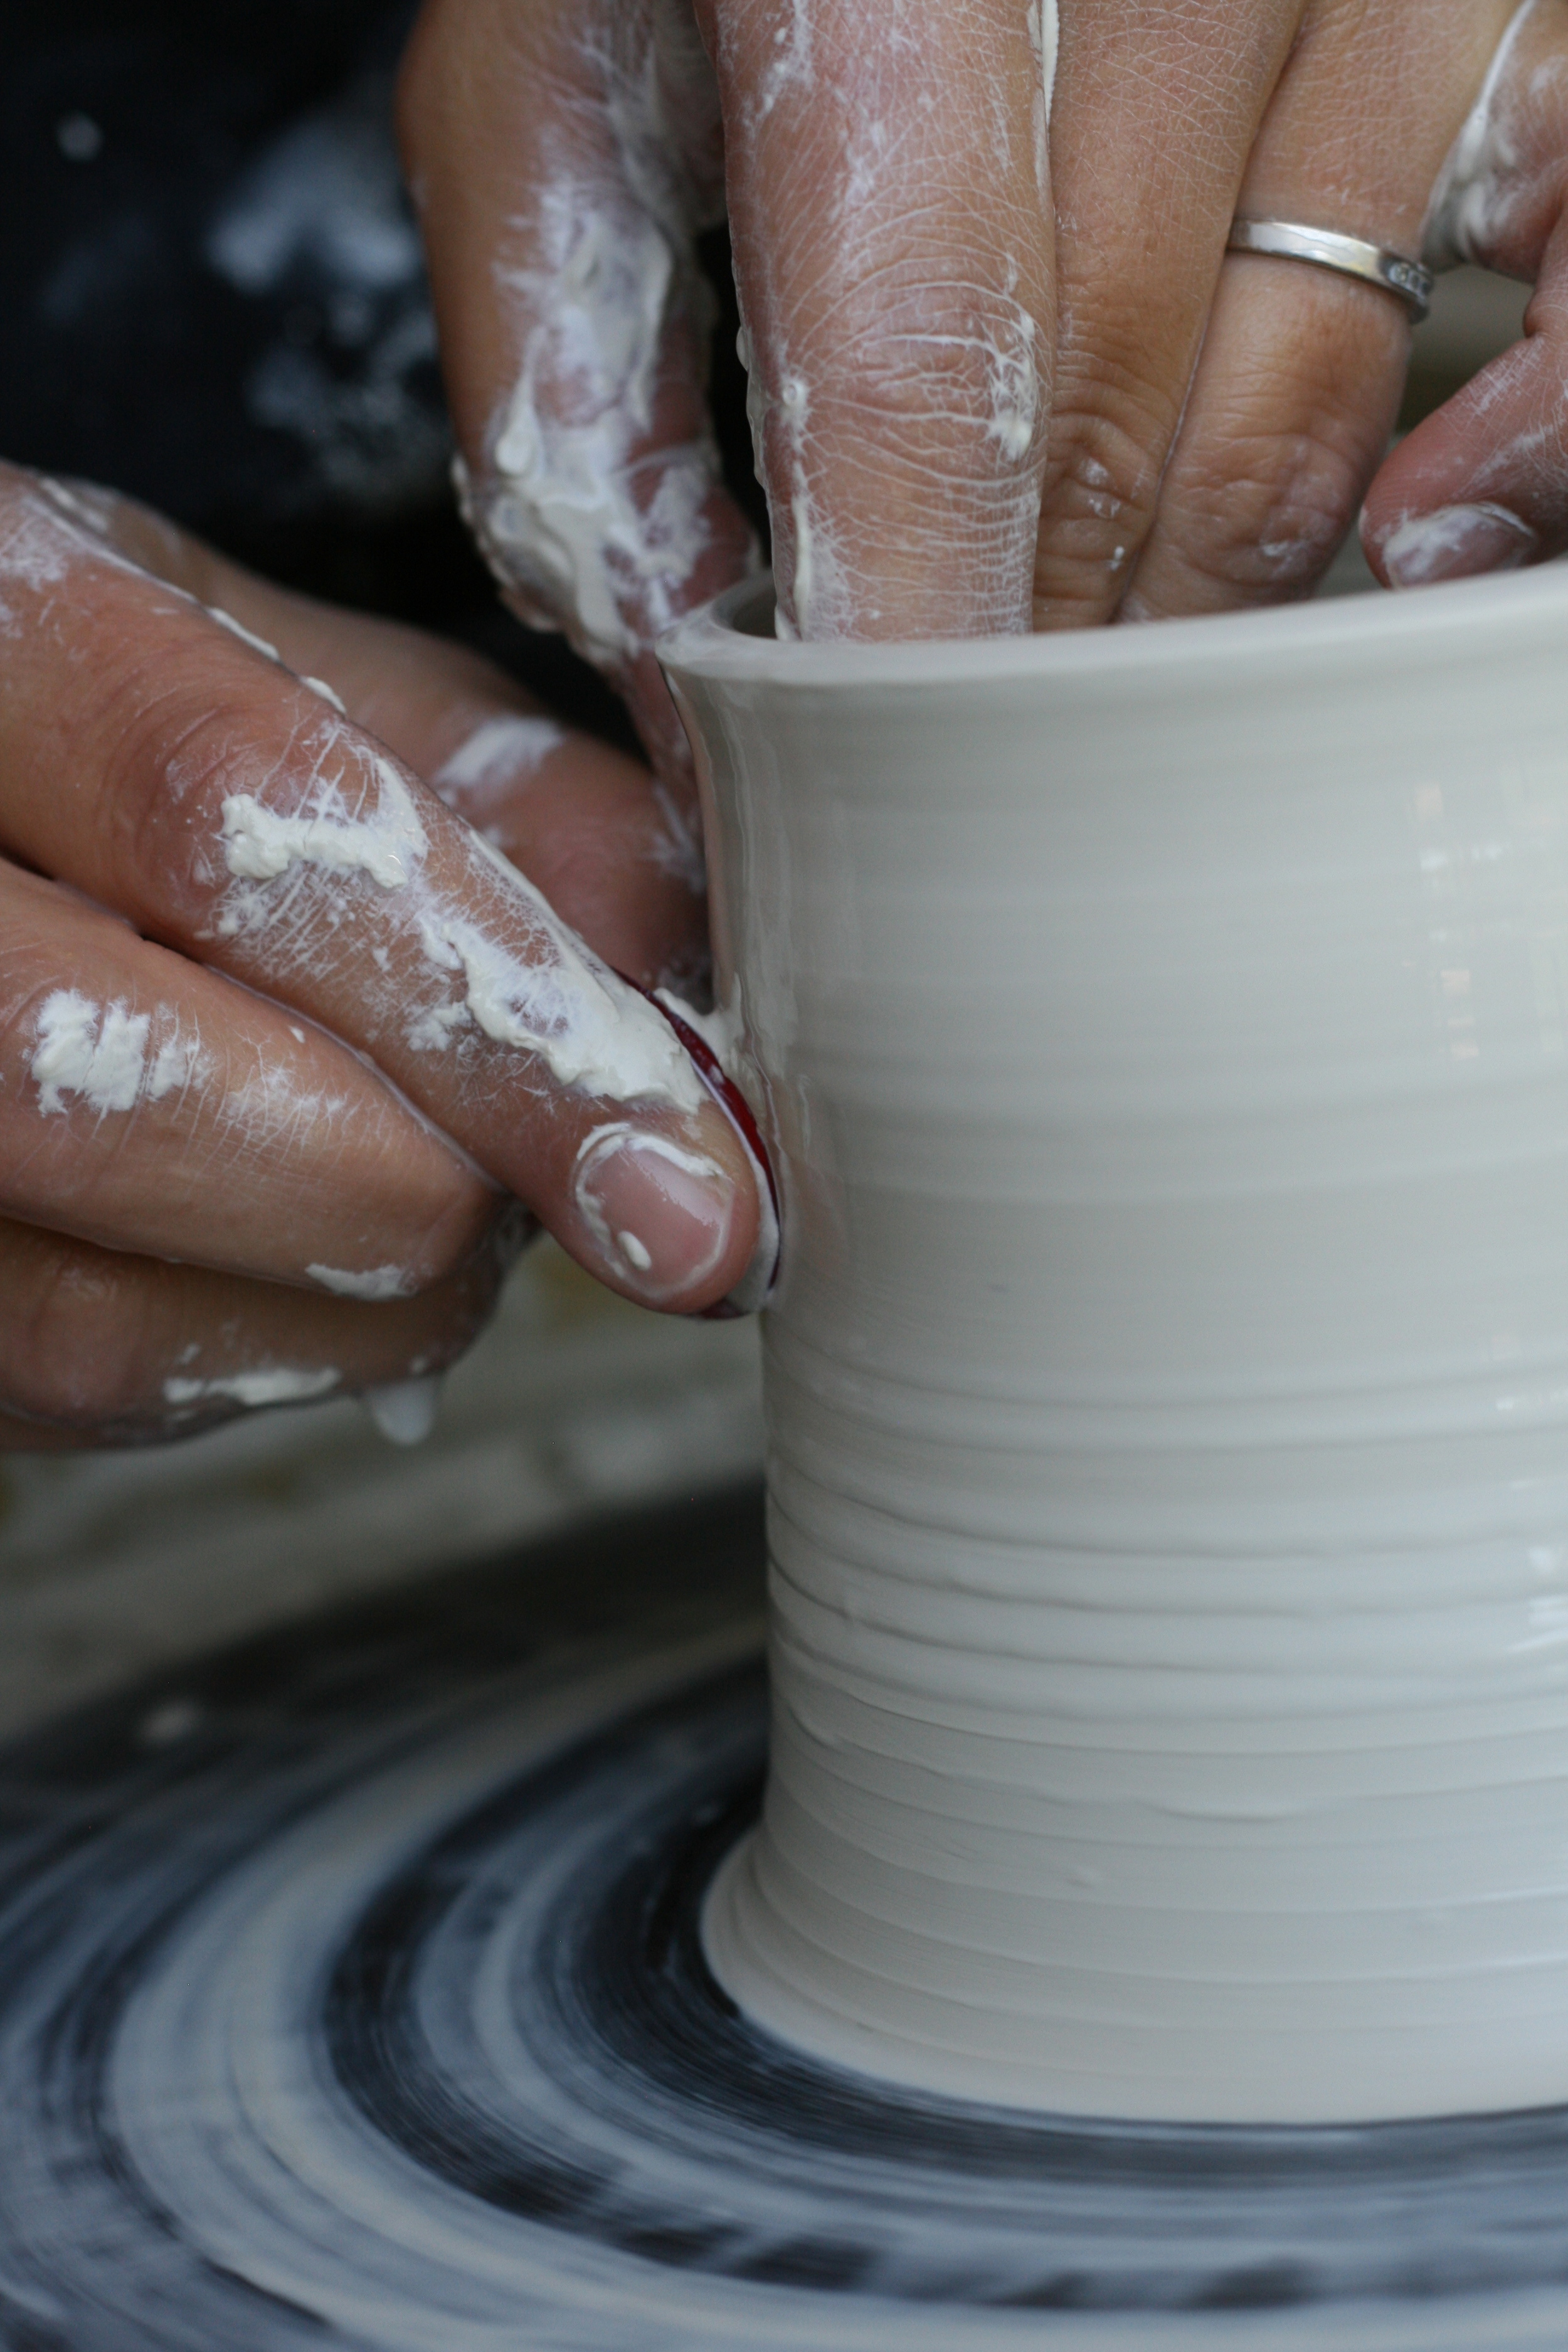
Attention to the "lip" of your pot is critical, especially when making mugs. A nice smooth lip is best for sipping coffee and tea.
Pottery by Melissa Beckwith
I sometimes use a rib to help compress the clay particles for a stronger wall.
Pottery by Melissa Beckwith
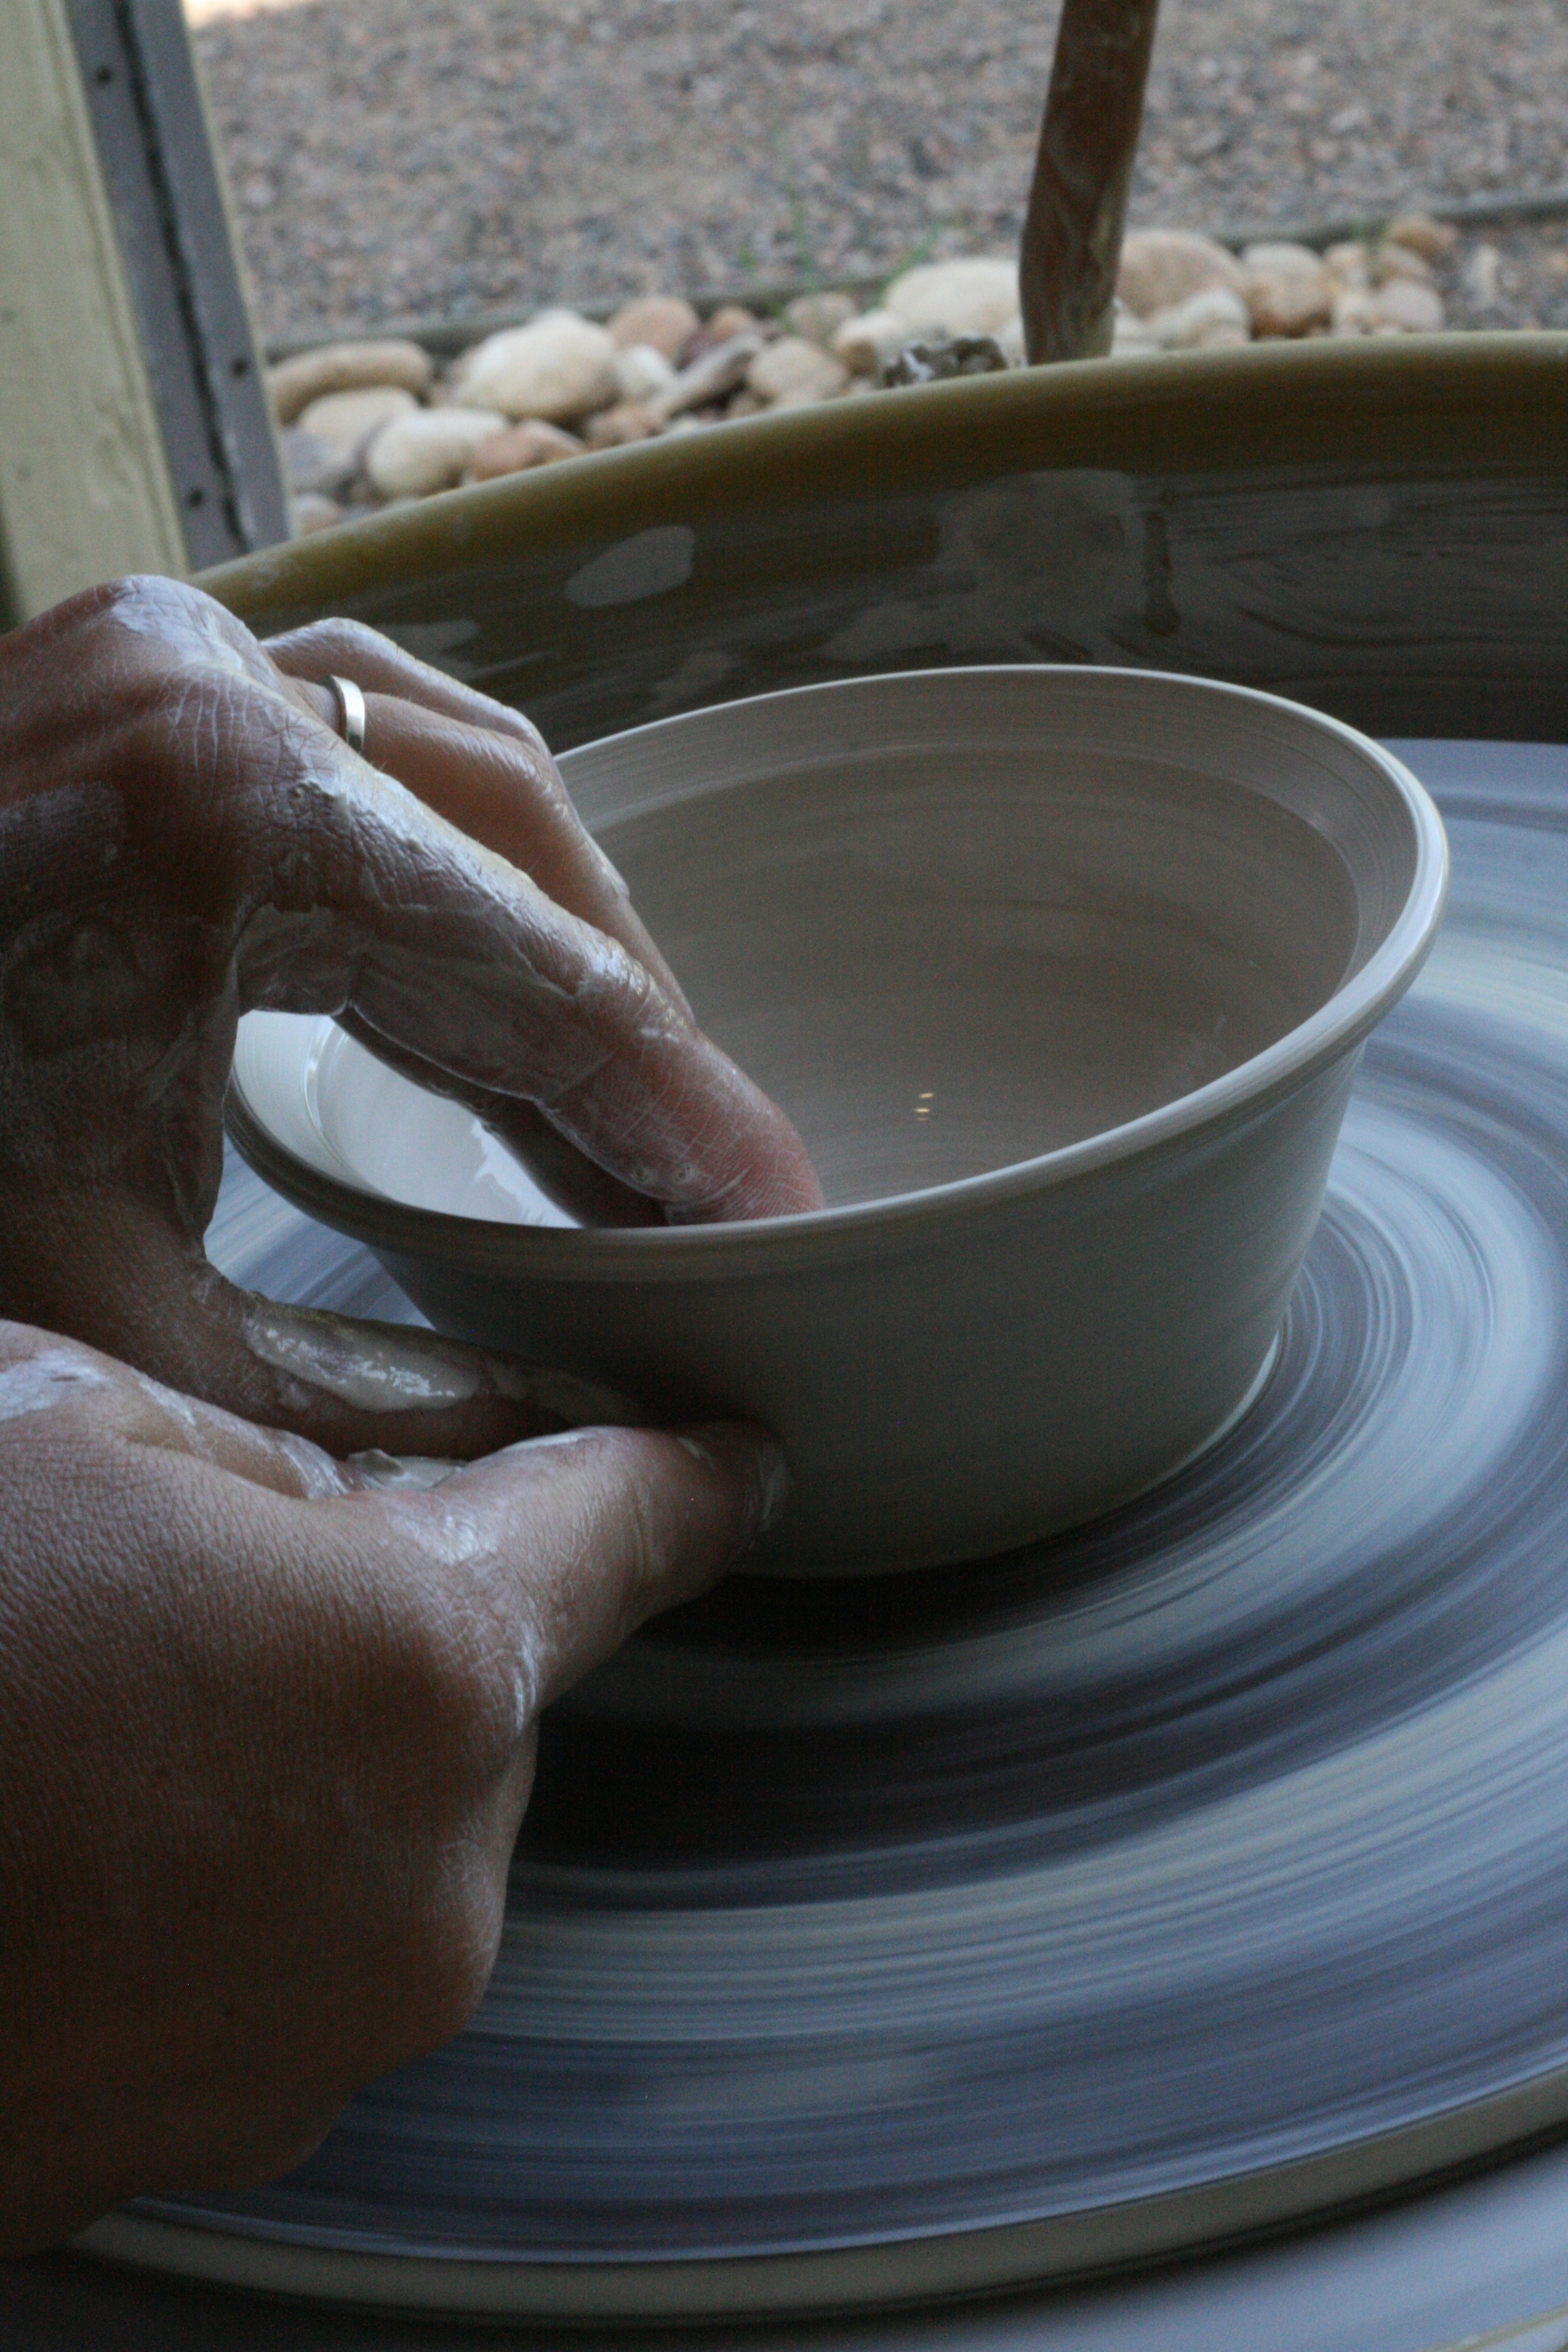
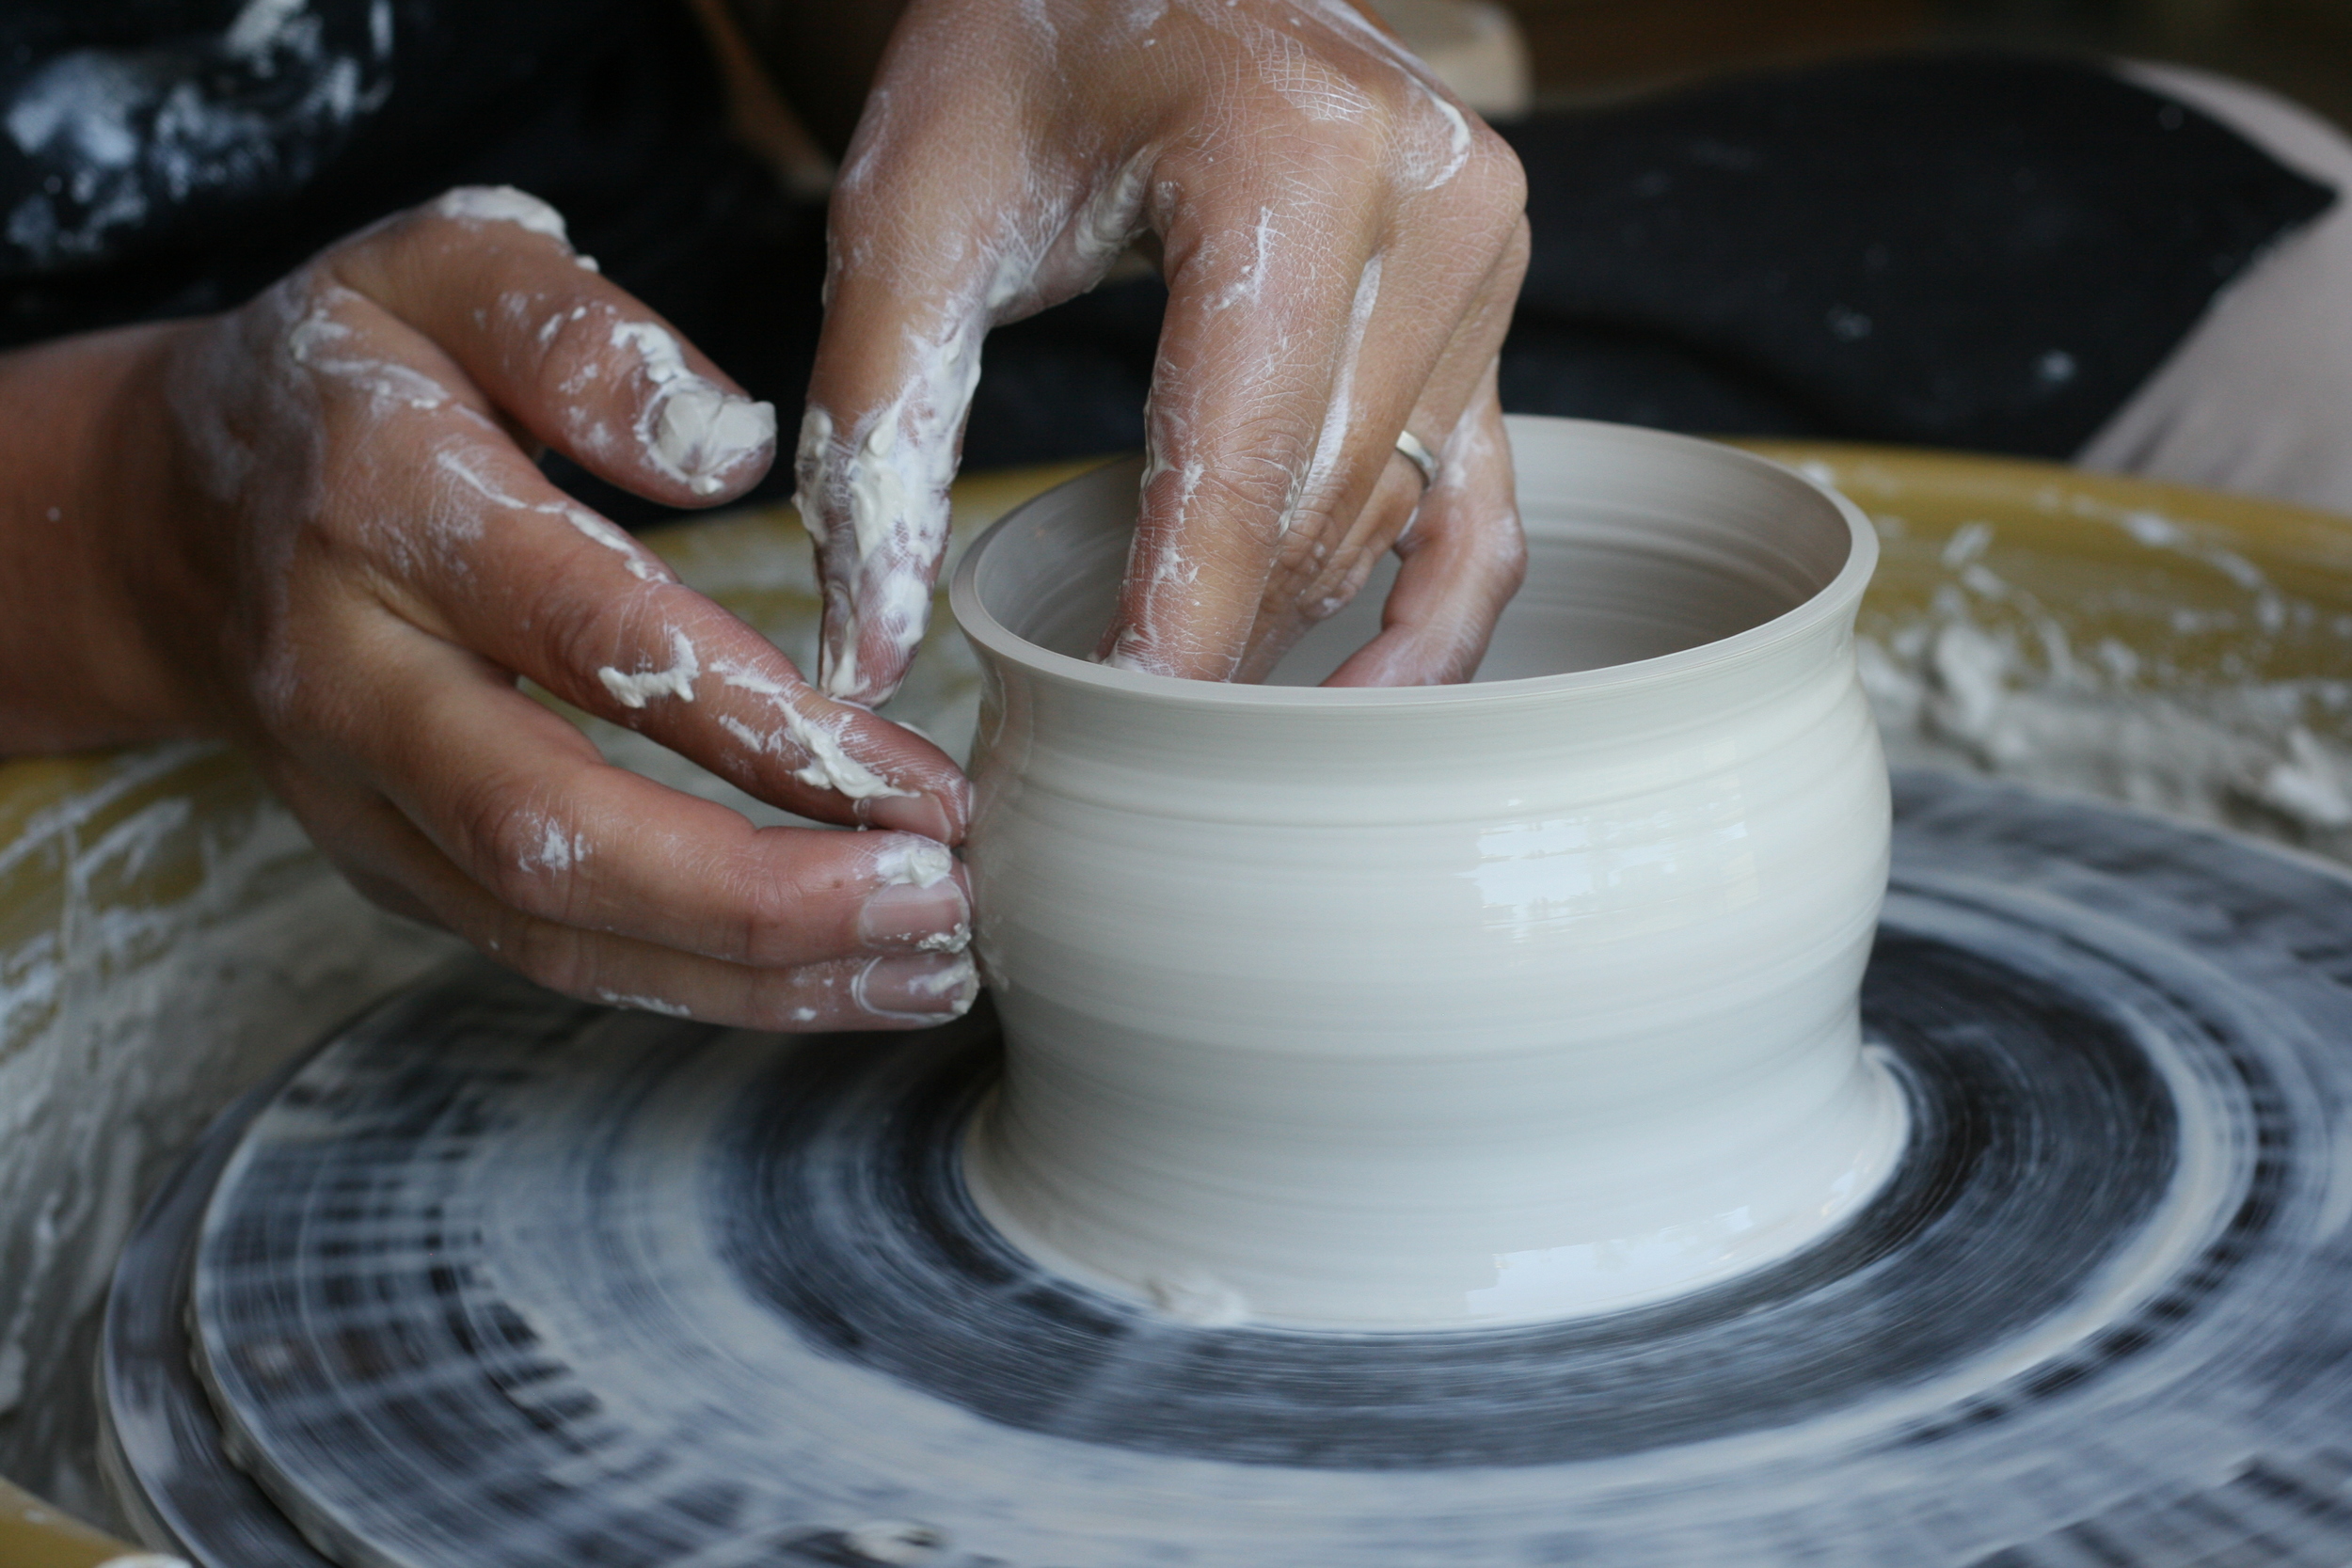
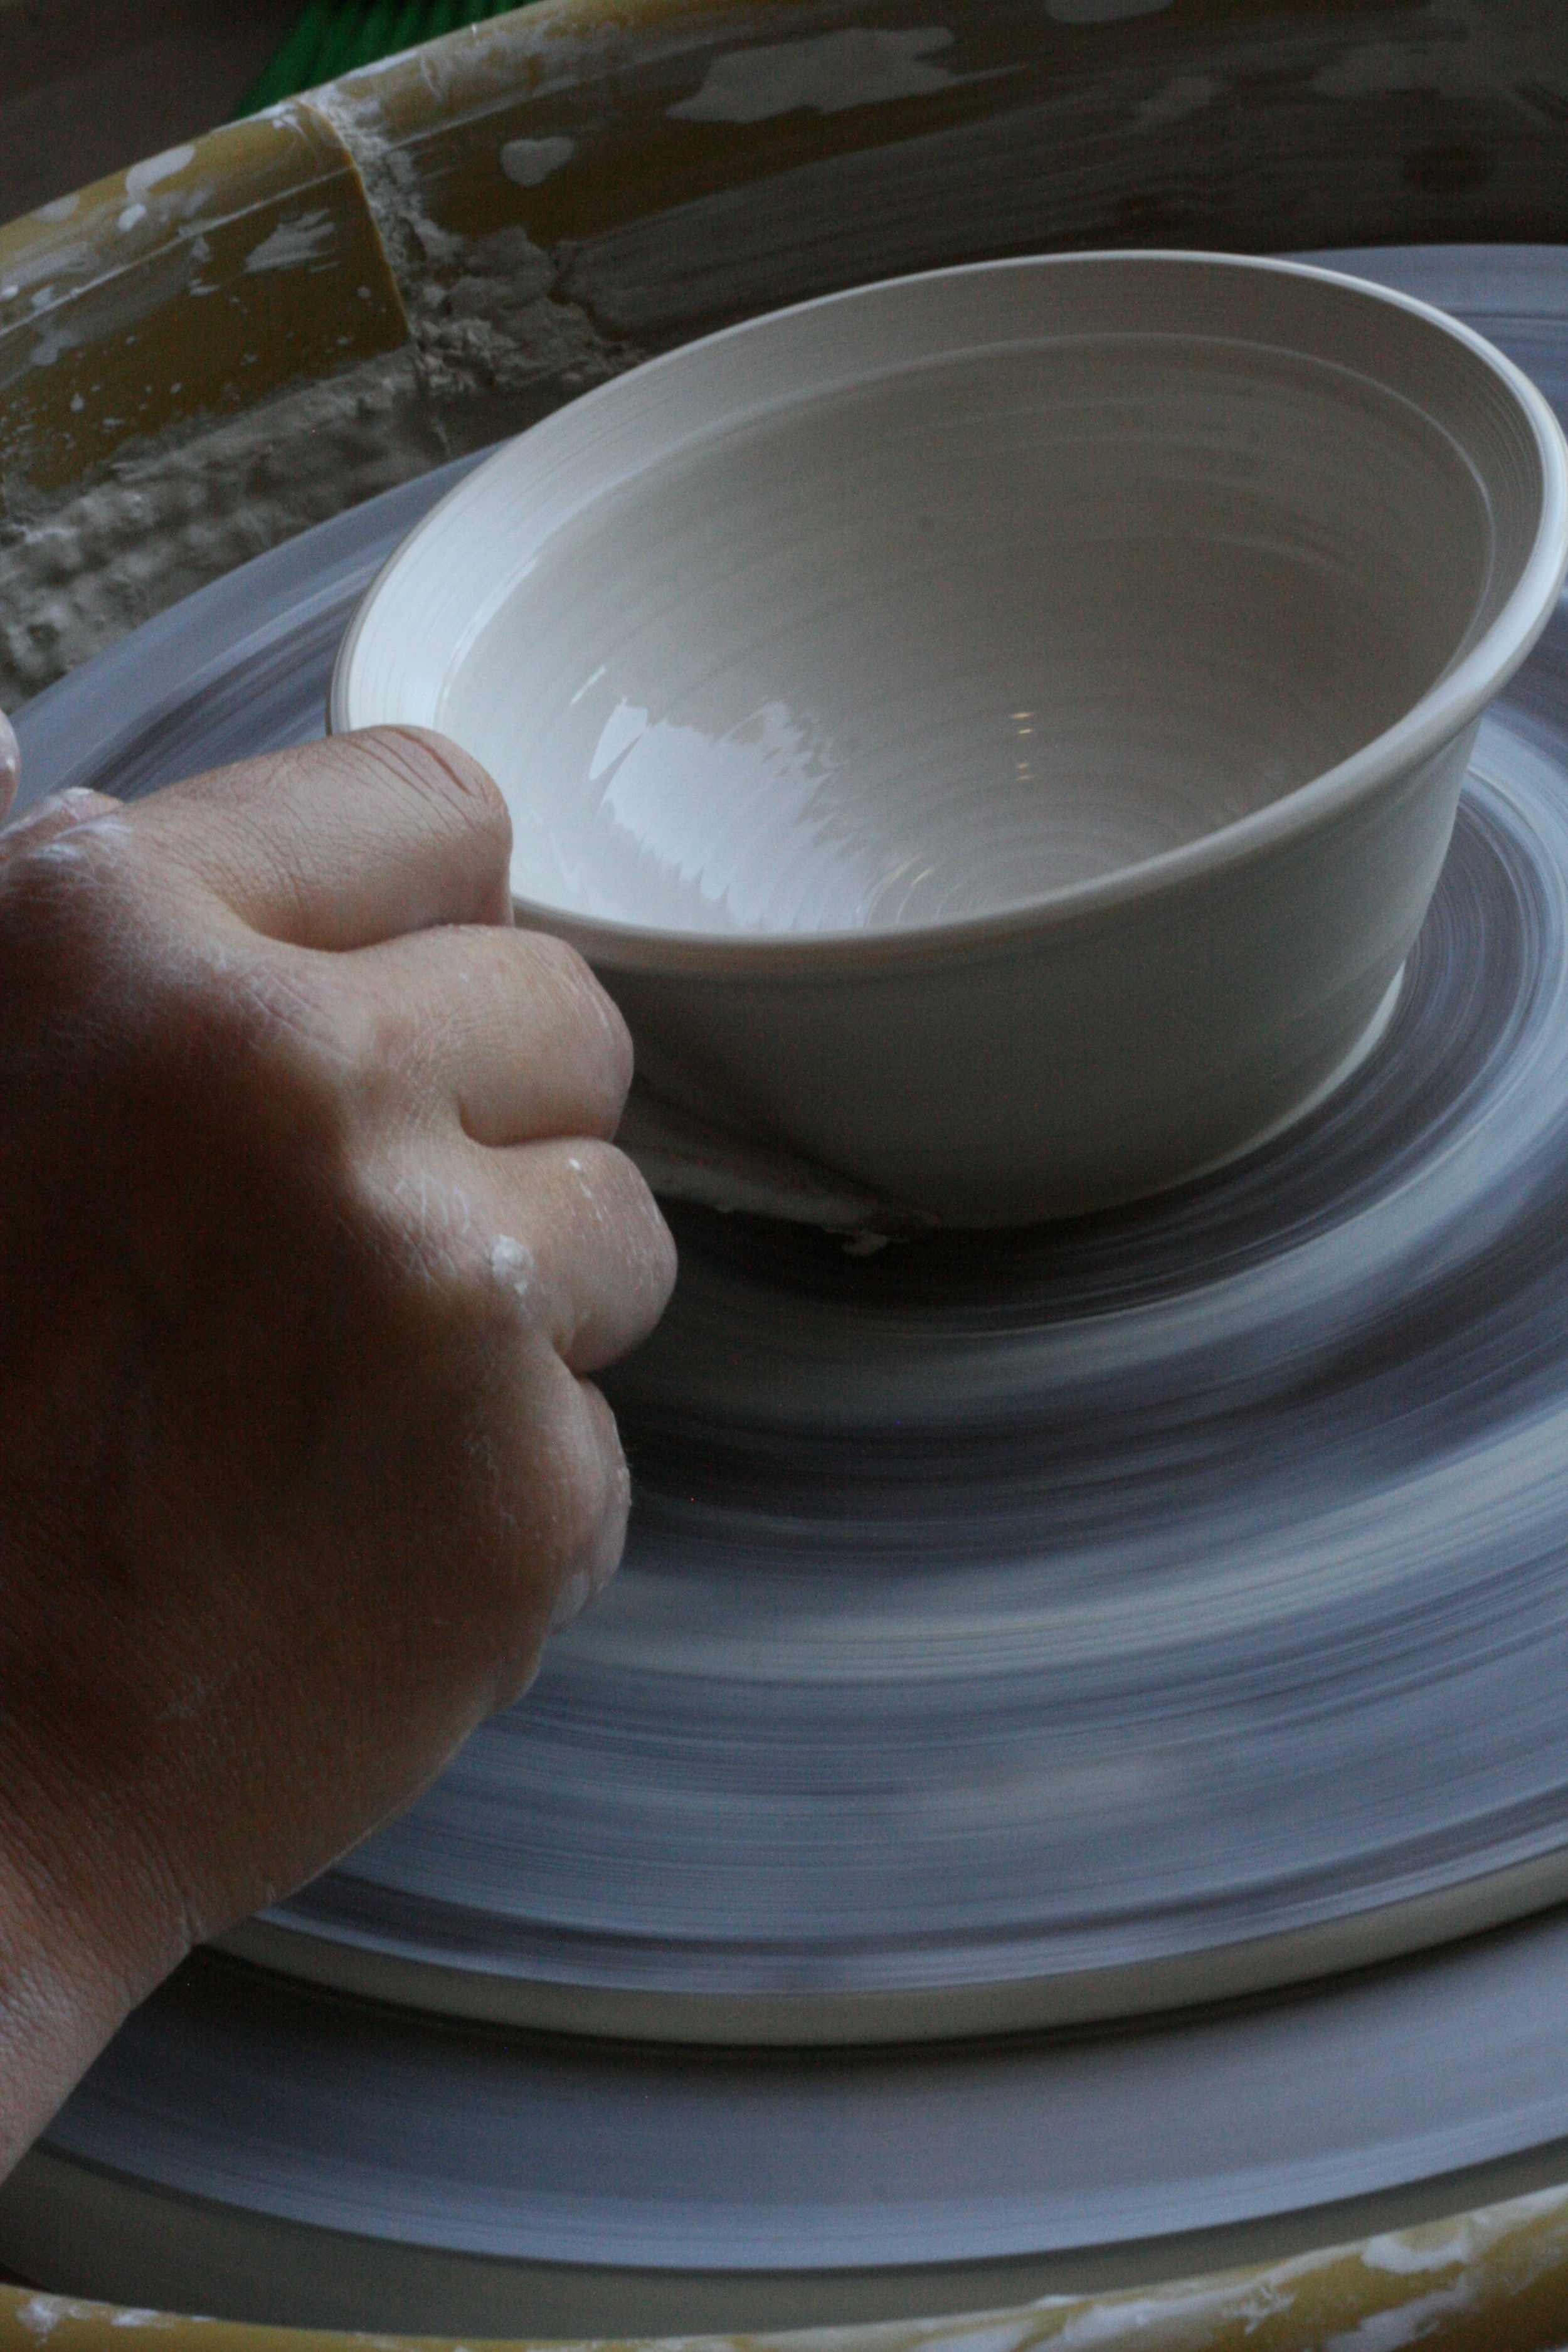
Once the walls are pulled, I start to shape the pot's form. Here I am bellying out the side walls.
Pottery by Melissa Beckwith
I think it is very important to give special attention to the lip and to the foot to give each pot a professional finish.
Pottery by Melissa Beckwith
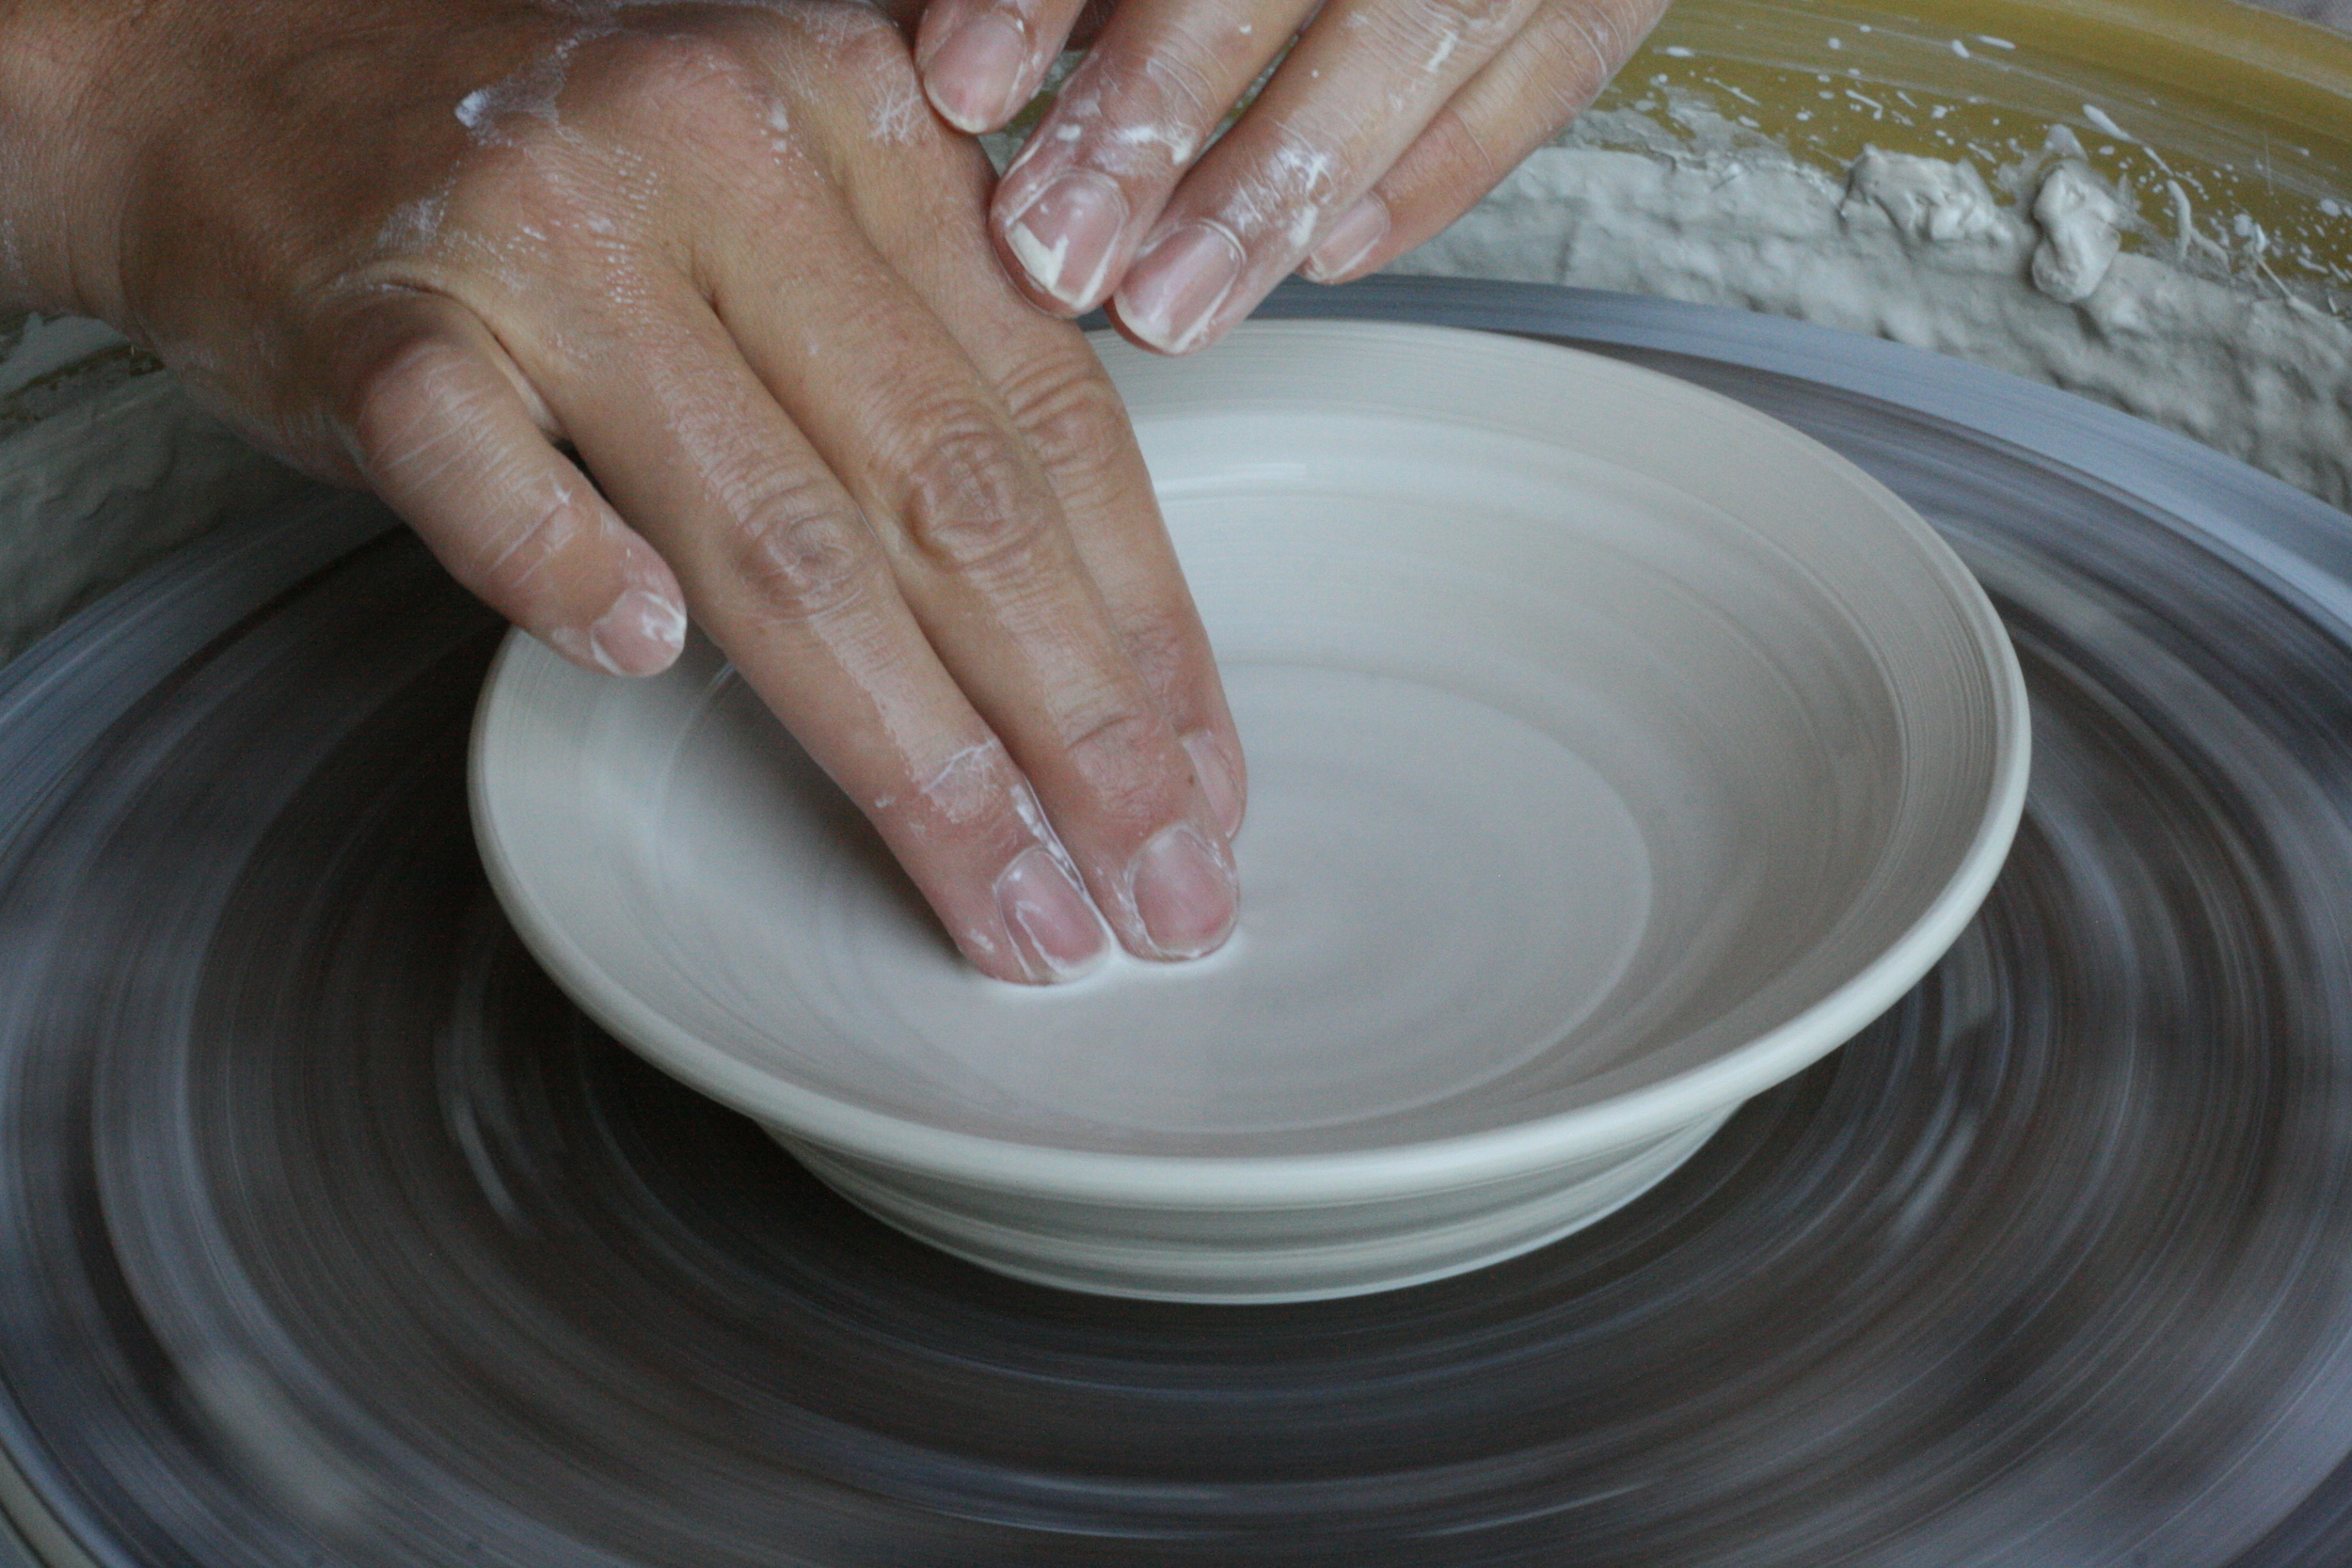
I start with a wider base when making a dish or plate.
Pottery by Melissa Beckwith
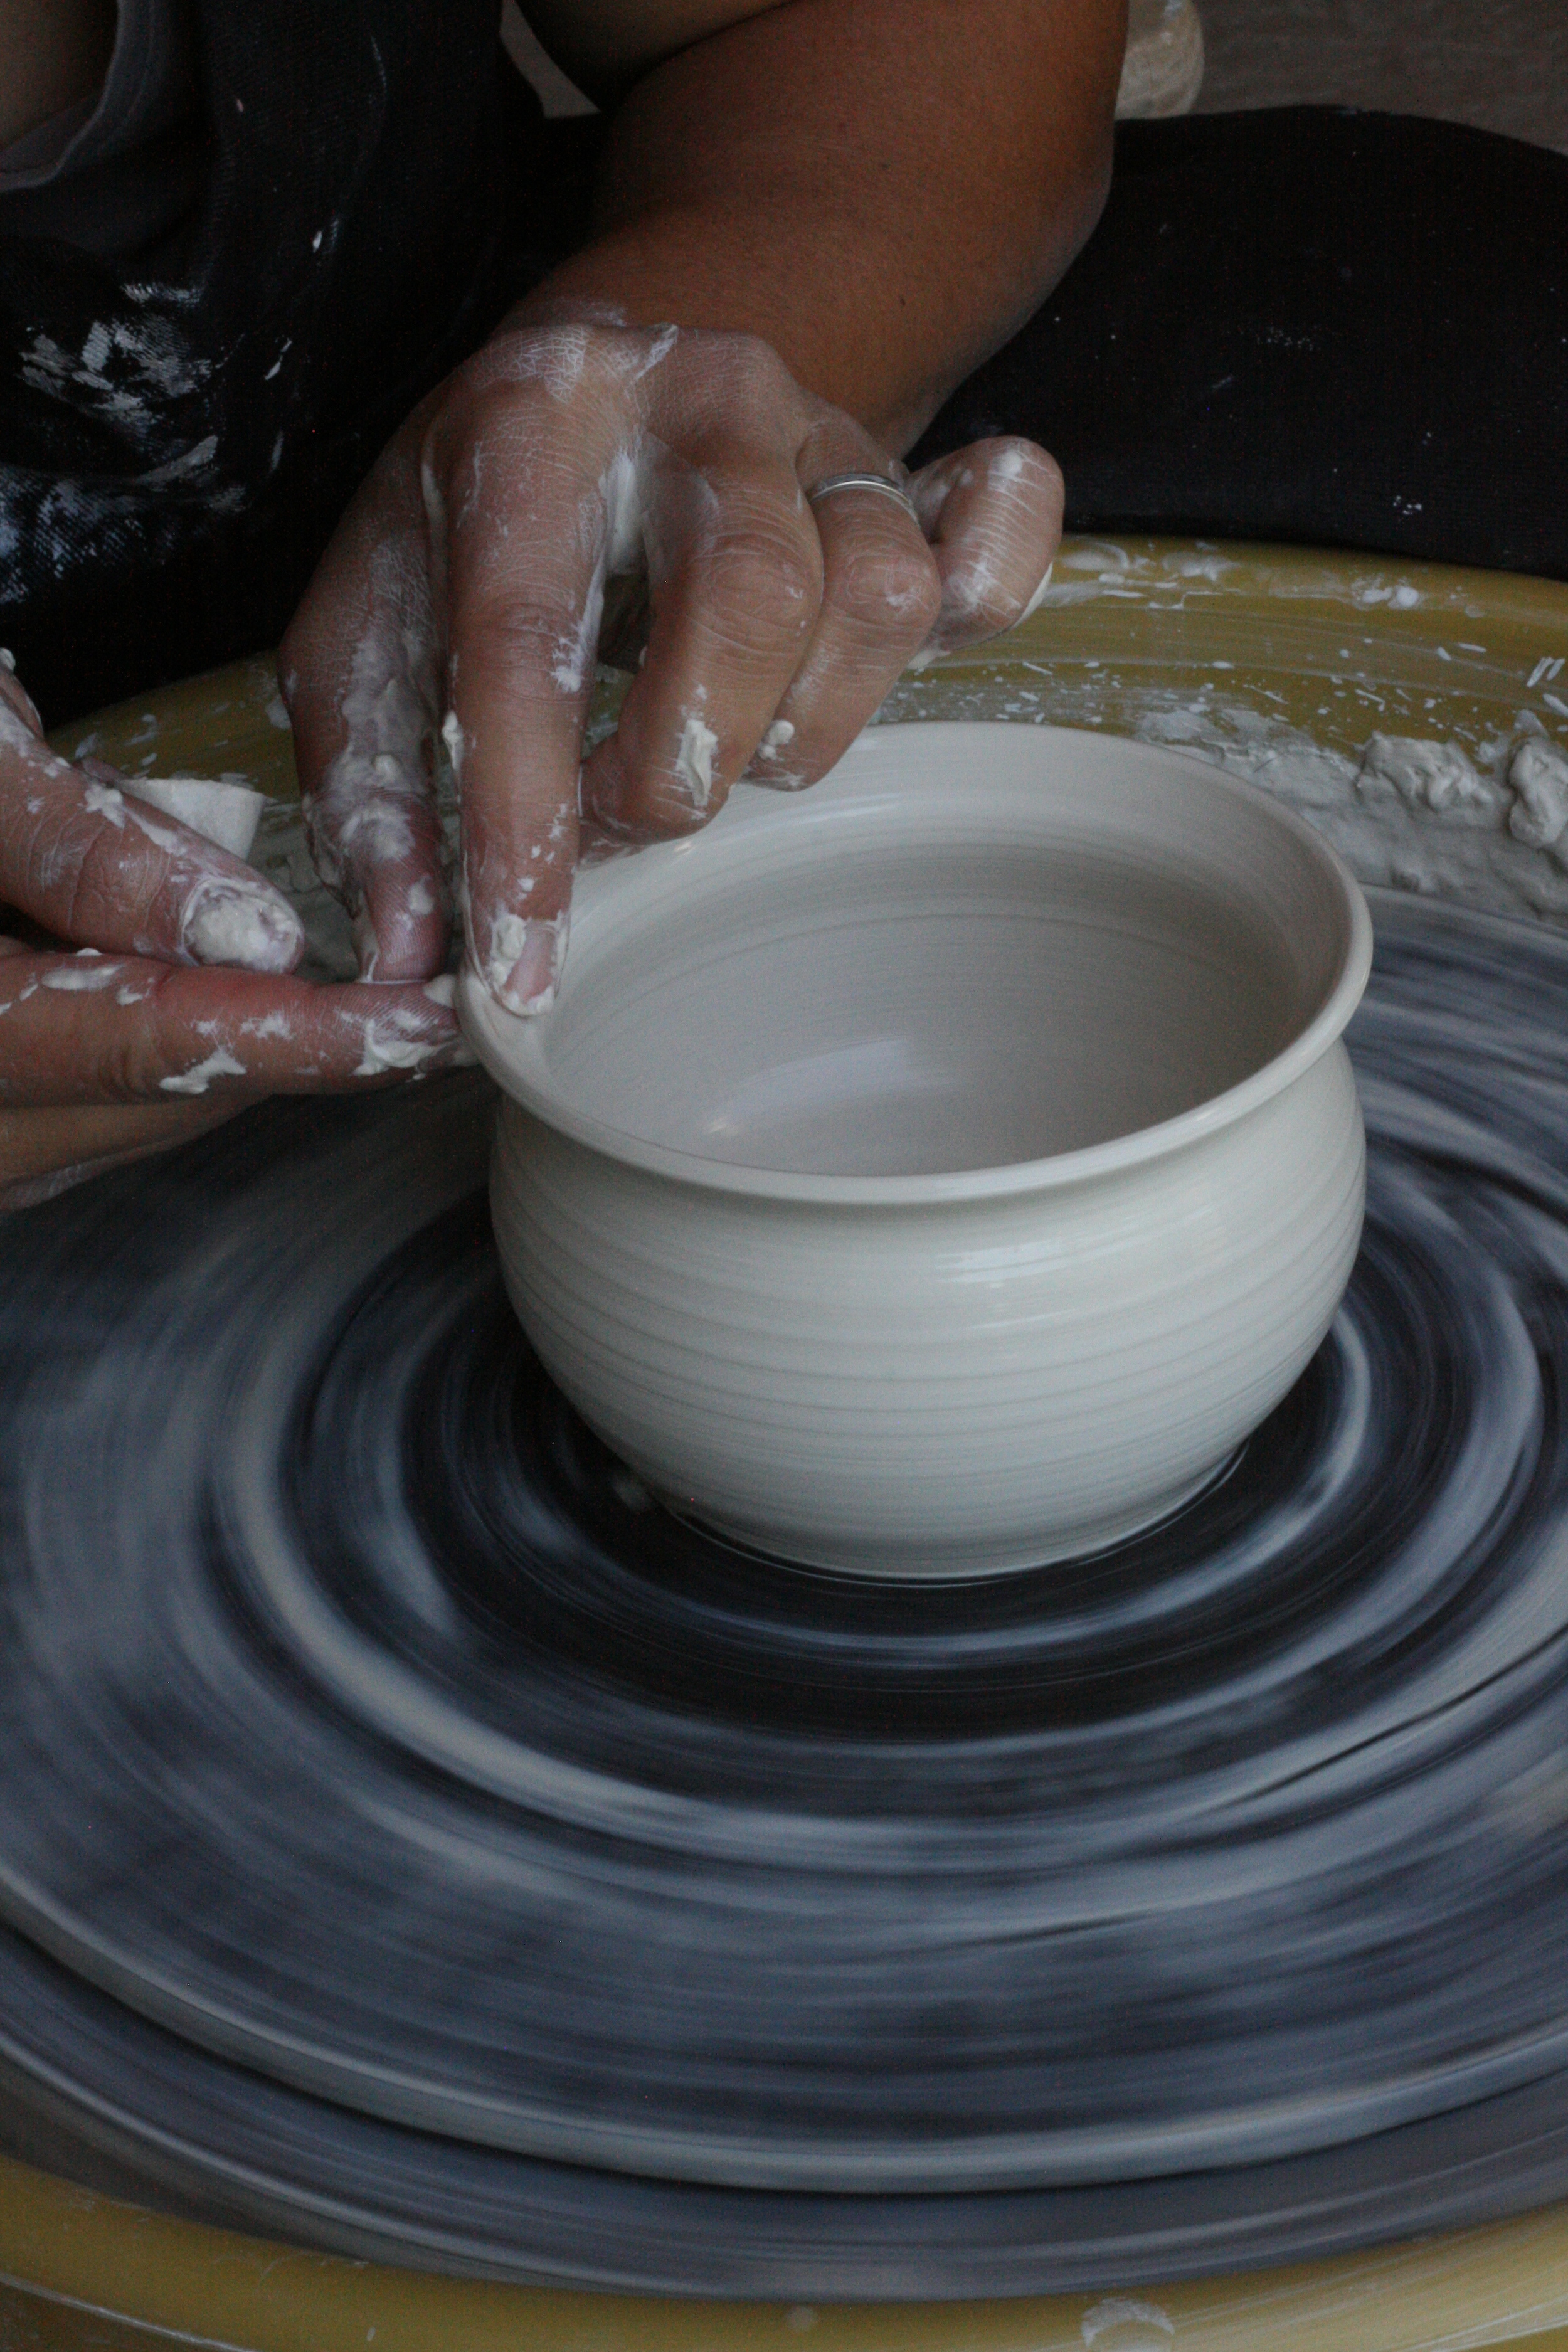
I leave a little extra clay at the top so I can compress that section at the end and also so the top part doesn't get to ragged.
Pottery by Melissa Beckwith
I tidy up the bottom of the pot where there is often an exess of clay.
Pottery by Melissa Beckwith
Once the pot is finished, I let it slowly dry for a half a day or so (depending on the weather) and then flip it over, put it back on the wheel and trim the base or "foot.
Pottery by Melissa Beckwith
Finished greenware pieces dry slowly in the studio.